UV unwrapping low poly spaceship.
- Zack Scanlon
- Sep 17, 2020
- 2 min read
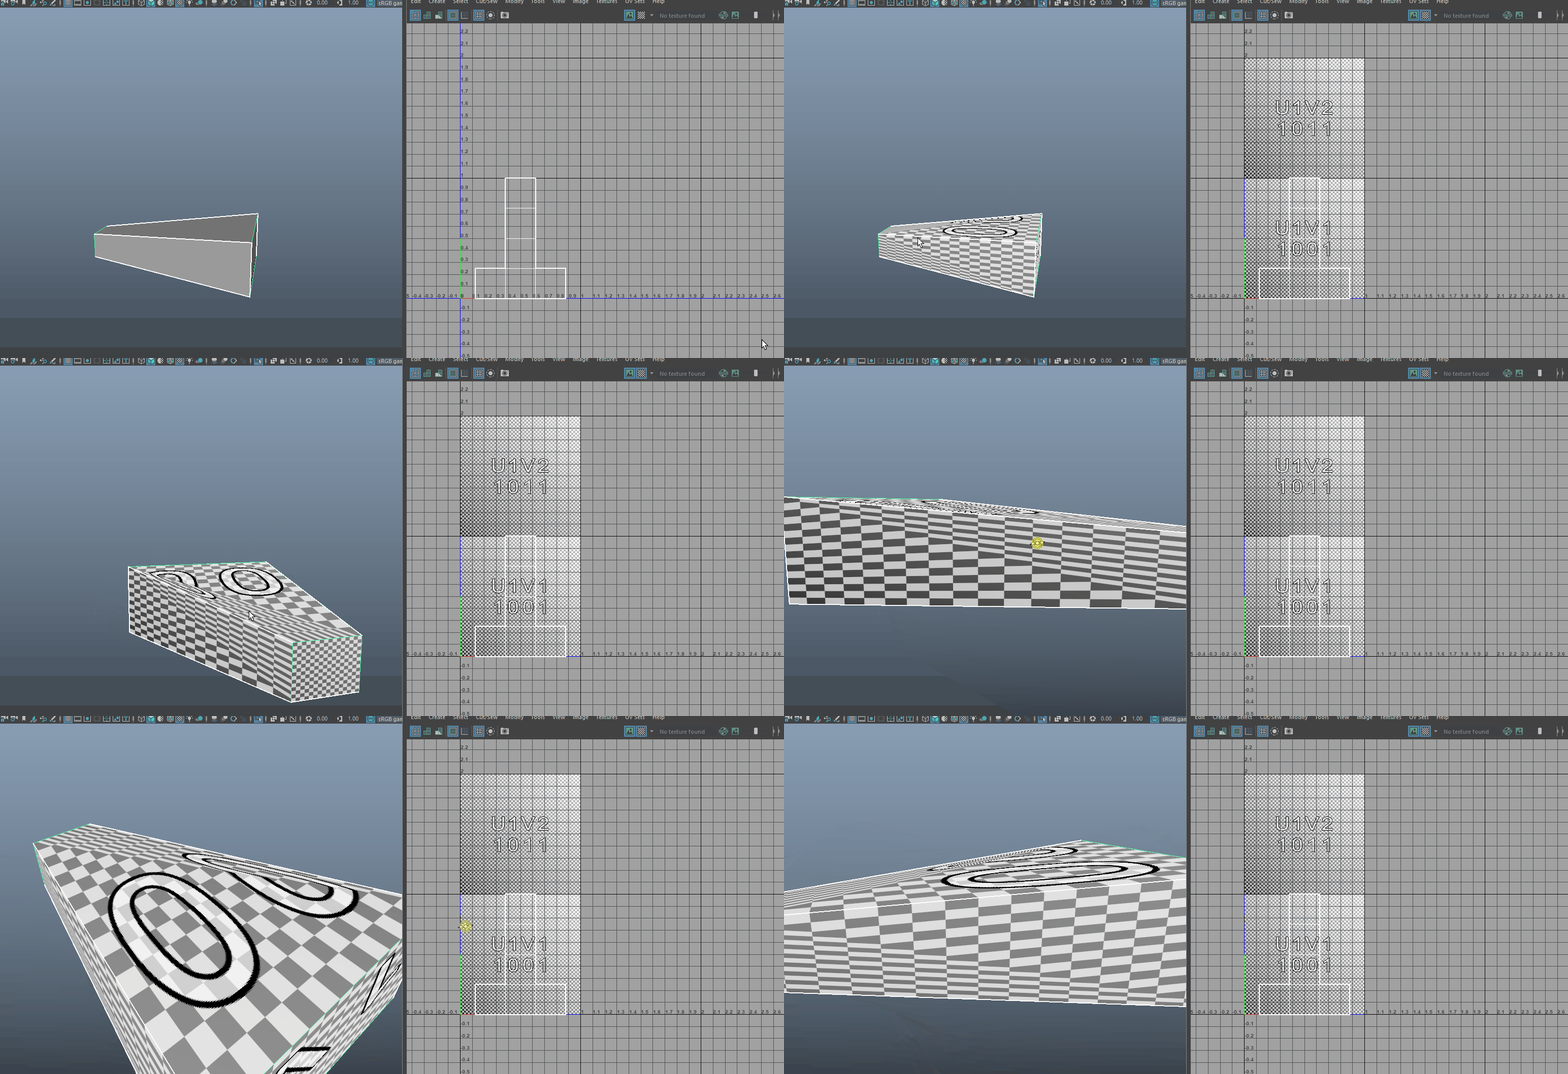
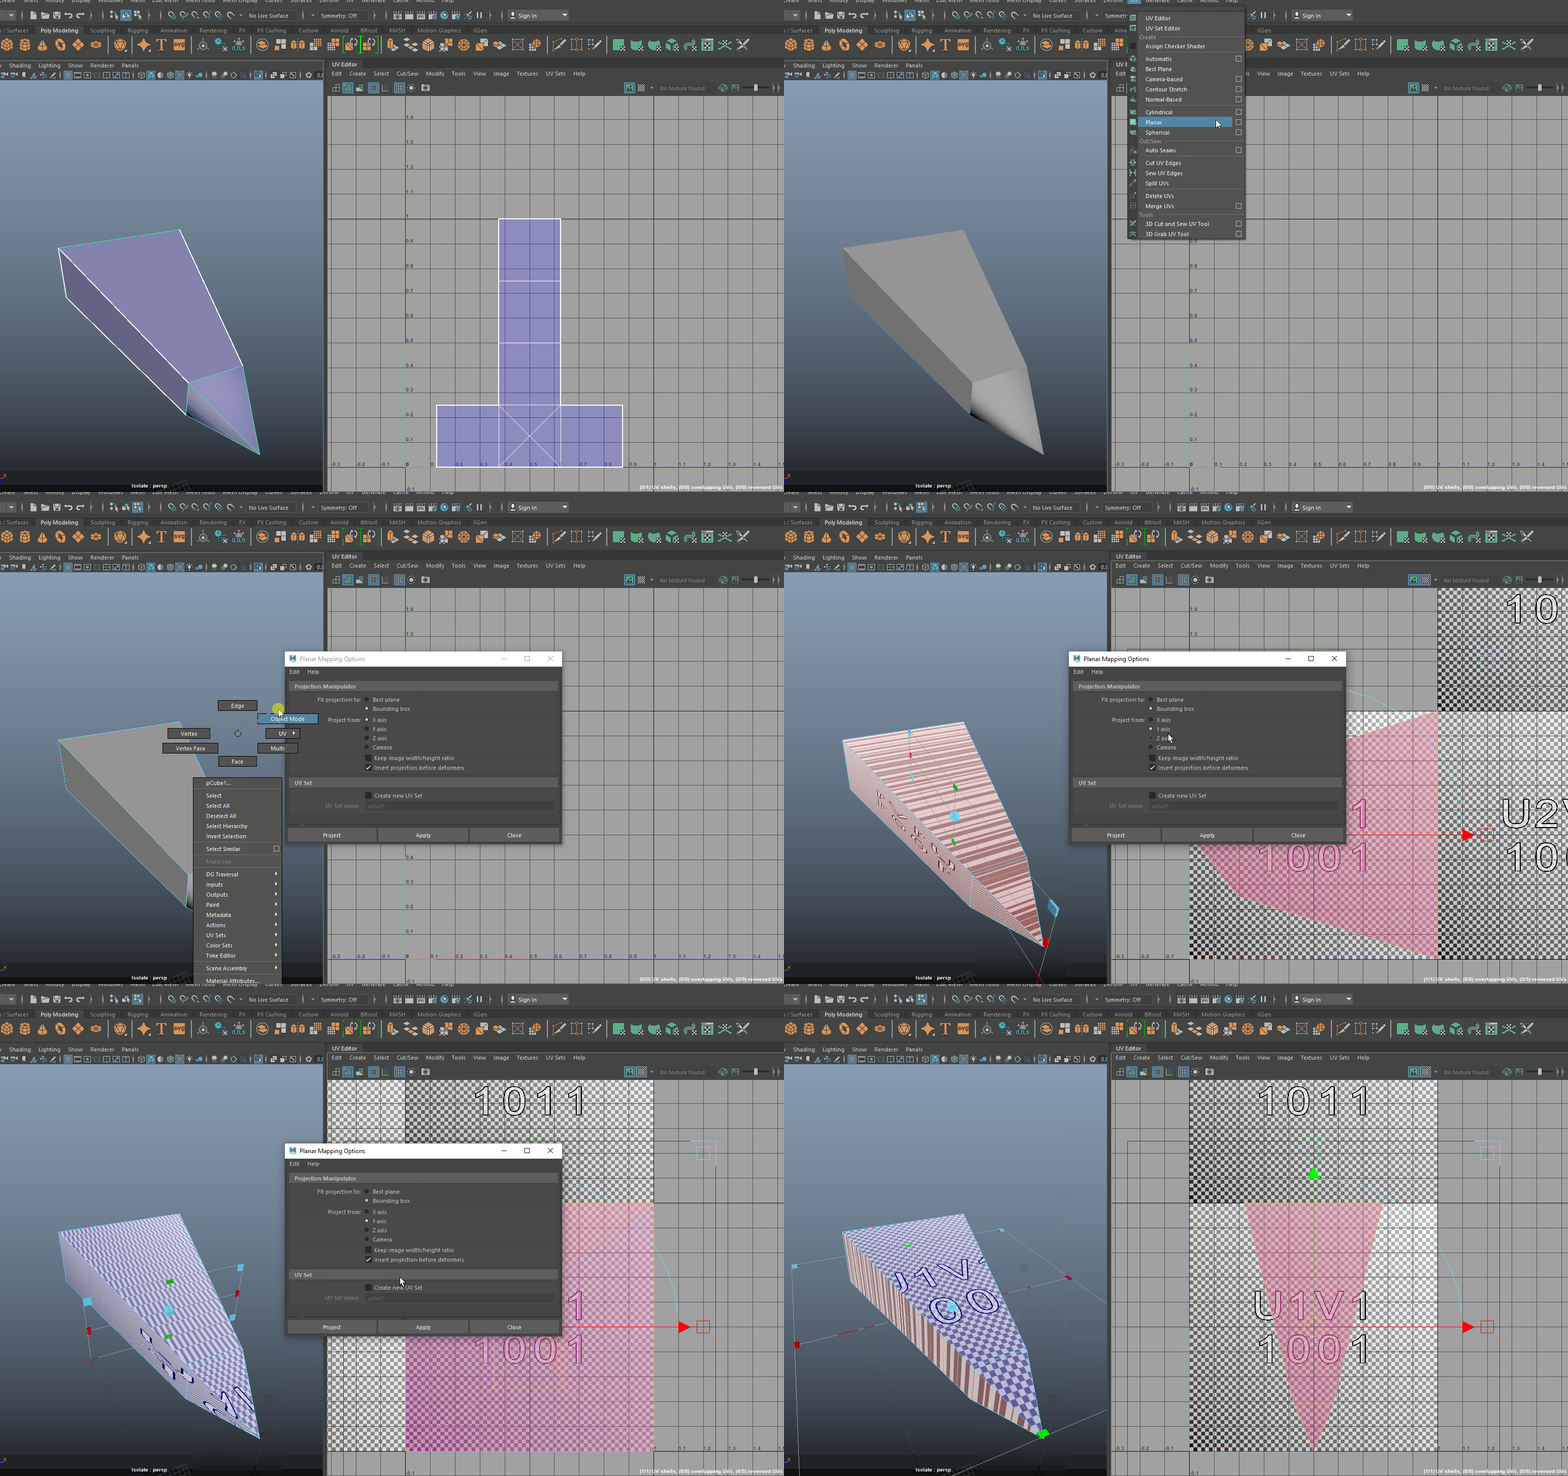
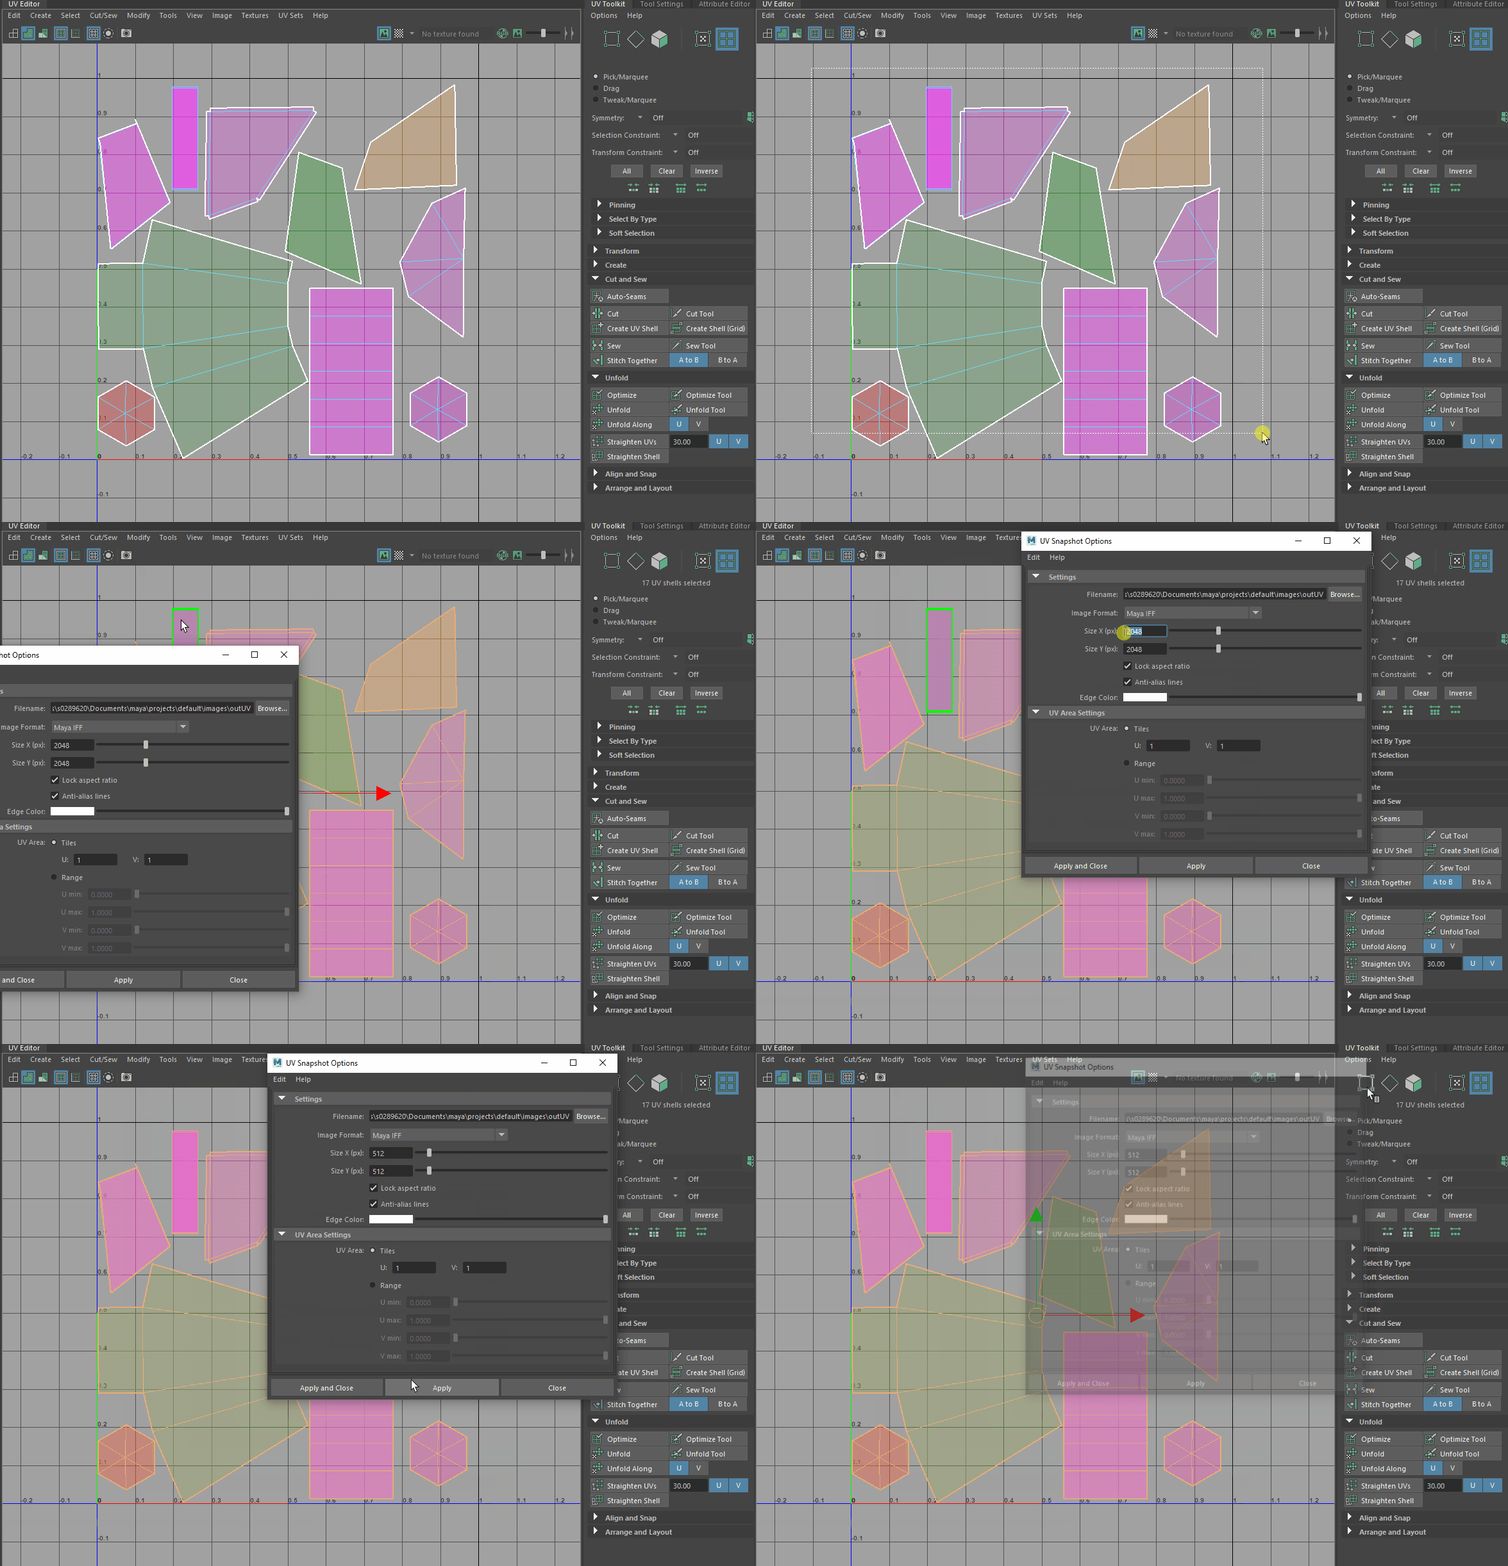
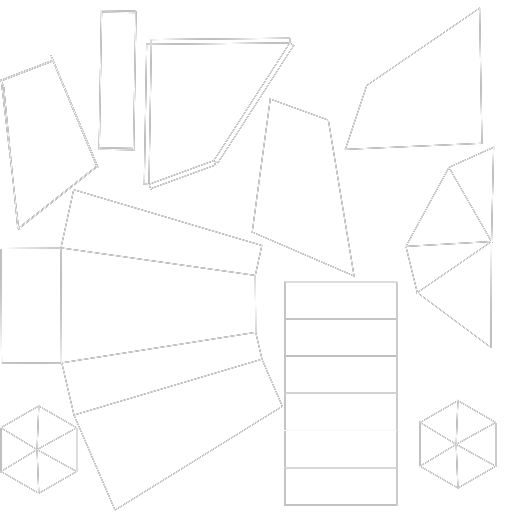
Once i was finished modelling my spaceship i want to make textures that i can then apply to the model but before i could do that i had to UV unwrap my model otherwise i wouldn't have full control over my textures and as my model uses some weird shapes the textures would be distorted i knew this because i went into the UV editing work space and turned on the checker board when i had a part selected and it would give me an idea of how the texture would be applied. To begin fix these deformations i deleted the UV's for my object then added a new planar UV and clicked on the box so i can adjust my settings as when adding a new UV i like to see which axis it would look best on so choosing the axis with the largest area will normally give you a better looking projection also remembering to select keep image width and height ratio so the new UV's match the actual shape. After making new UV's next was to use the cut and sew tool to cut edges so that i could unfold and get usable UV's i repeated this process for the rest of the ship. Once completed i rearranged the UV shells into a 0 to 1 tile size and adjusted the shells so that they all shared the same textile density so the textures are even across the model when textured. When all the UV shells were laid out in the 0 to 1 tile i then selected them all and then click on the camera icon in the UV editor to bring up the snapshot editor so i can export my UV snapshot in a 512x512 PNG format to then take into photoshop to paint my textures in.


Comments