Texturing my Screwdriver model.
- Zack Scanlon
- Feb 10, 2021
- 2 min read
Updated: Feb 23, 2021
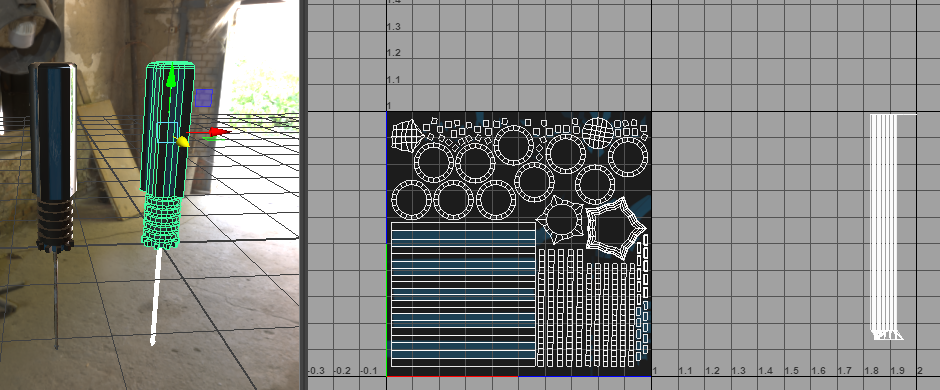
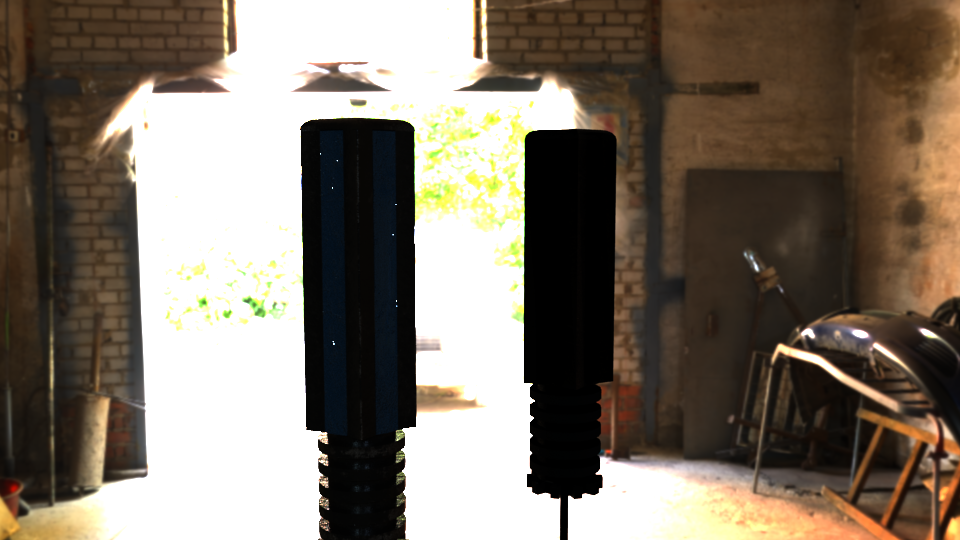
To start with the texturing first did some clearing in Maya like renaming different parts of my mesh like the handle and the shank so i know what parts are what. Next i had to set a density for my texture used the measure tool to find out. After getting once piece to the resolution i wanted i took the texel density and applied it to the other UV shells so that they were all at the same size so that i could then lay it out. Once that was done i exported my asset as an FBX file so that i could then bring it into substance painter. Once in substance i baked my mesh maps. Once i had that set up i used folders to mask the handle and shank so when i applied the smart plastic material it would only be on the handle and vice versa for when i applied a rough and damaged steel to the shank. I then used a blue pvc plastic material to add the blue stripes to the model. I then exported the maps as pngs so that i could then apply them to the model in Maya, but when i applied the textures to my model there was issues with the shading and parts being overly specular.
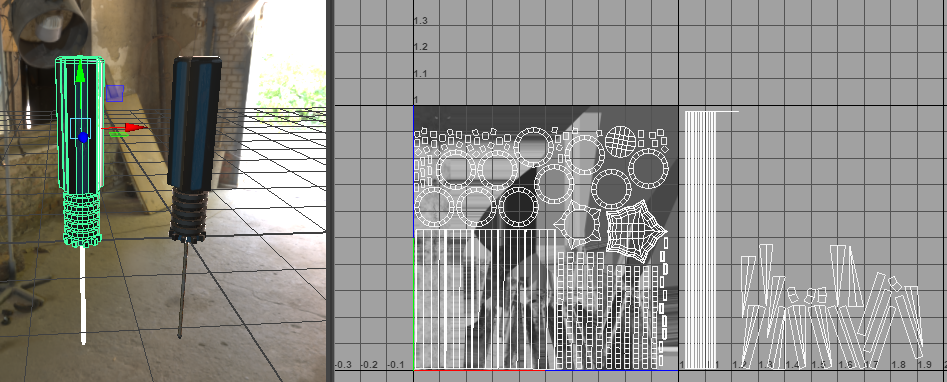
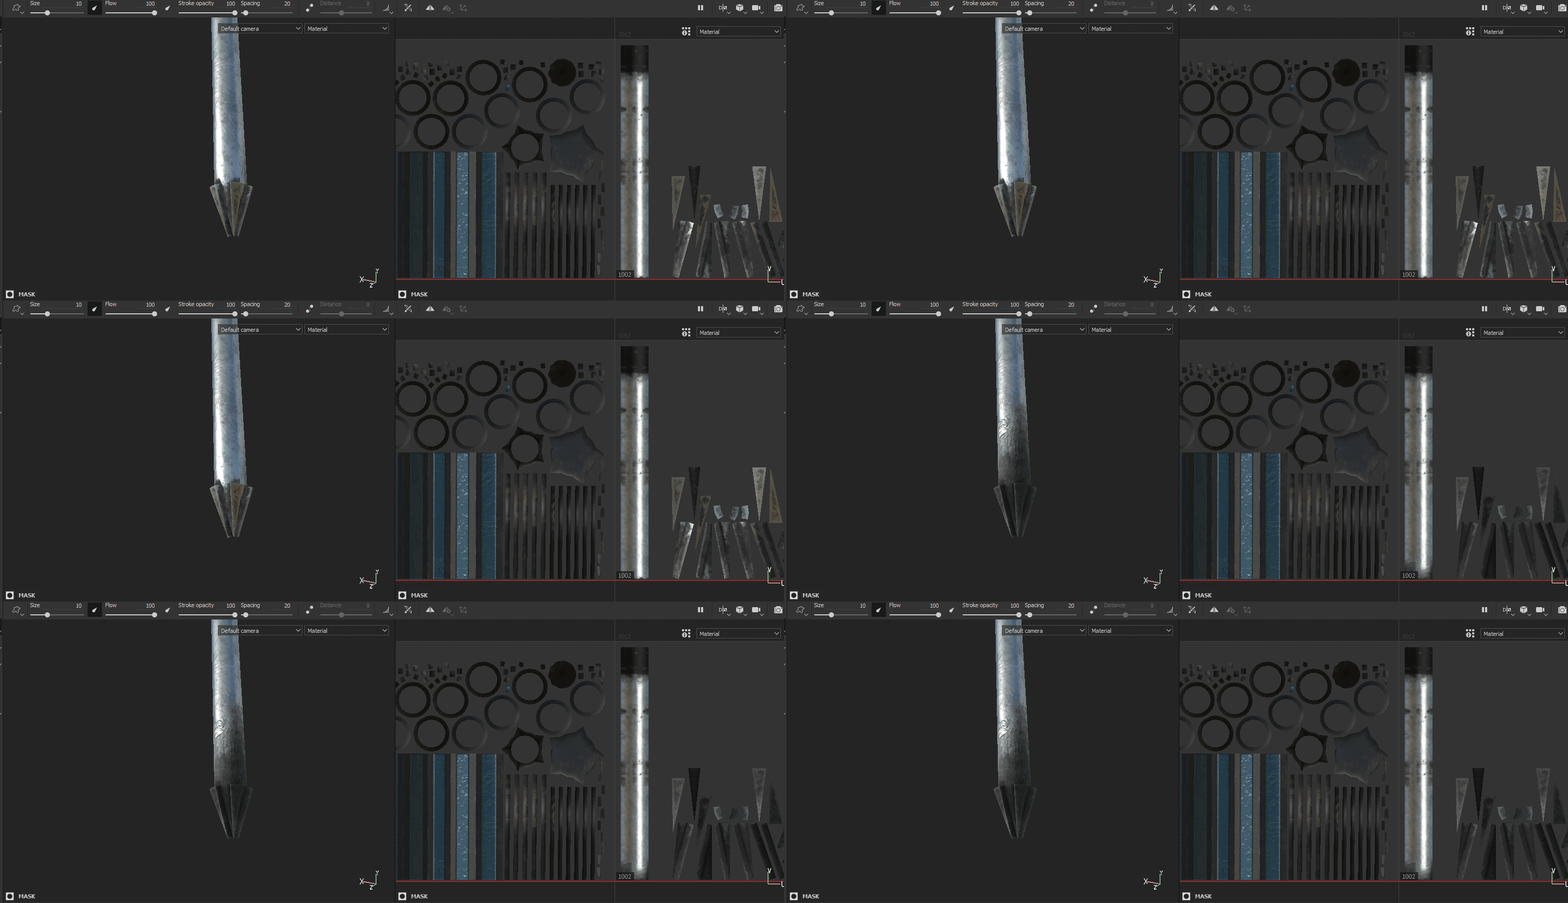
I decided to reorganise the uv's to better optimized usage of the Udims i then reexported it as a FBX and took it into substance. I started by applying a rough black plastic material to the handle and then added a blue plastic one but set it to a black mask and selected the polygons i wanted to be the blue plastic as this gave me a much greater level of accuracy as opposed to hand painting it. I also you smart masks to add imperfections because it looked too clean and the screwdriver that i was referencing was much more worn and rougher. For the base of the shank i applied a smart charcoal material to try and emulate the dirt that would accumulate every time it is put in a screw and used, so i set that to be a black mask and used an alpha to paint it on in the specific area that i wanted.


Comments