Screw driver model.
- Zack Scanlon
- Jan 11, 2021
- 1 min read
Updated: Feb 23, 2021
For this modelling exercise we were told to choose an item that we will be modelling and then texturing so i chose this screw driver because i thought the handle would be interesting to model and as the handle was quite worn out on some areas i thought if given a nice HDRI/lighting the model will interact well with the lighting.
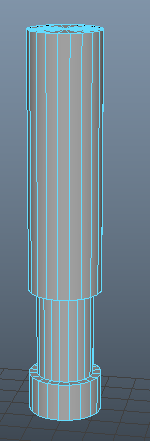
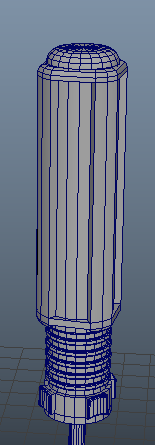
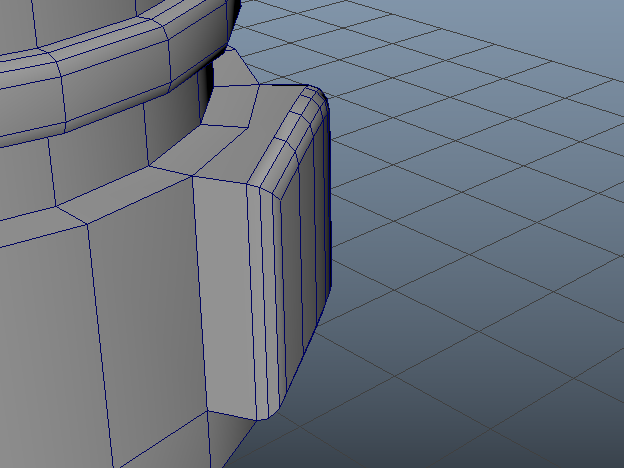
For the modelling i started with a cylinder to get the base shape of my handle then added some edge loops which i used to extrude faces inwards to make the skinny base of the handle. In the skinny part of the handle i added 10 edge loops and selected every other loop of faces and then extruded to make the rings that reside in there on the screw driver. In in order to create the rounded top for the handle i bevelled the top to make the handle look like it would actually be comfortable to hold. The outer edges of handle was probably the hardest part as at first i tried to make the base of the handle on the mesh itself and it created weird lighting issues at the top which made the model look weird so i decided to try a gear with 6 sides which looked much more natural and plain better. However when i started to unwrap the model itself started to show some issues with stretching when i used the checker board so i decided to remodel the screwdriver and used the lessons i learned the first time to make the screwdriver much more accurate to the reference i was using and easier to unwrap.


Comments