Photoshop
- Zack Scanlon
- Sep 7, 2020
- 1 min read
Updated: Sep 12, 2020
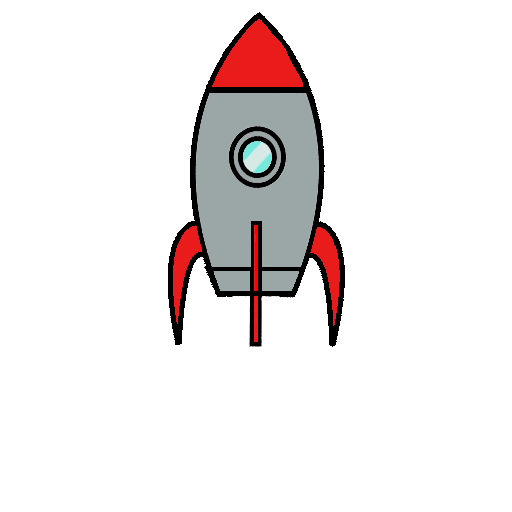
The session started with learning the basic controls of how Photoshop worked from what each tool/icon did to the short cuts like Ctrl+J to duplicate or Ctrl+D to deselect, all of witch were used to later trace out half of a cartoon rocket ship using the pen tool, then using the paths channel to fill the pen layer after that was done i then duplicated the filled grey layer and flipped it horizontally. to create a full shape of the rocket. after this was done i used the pen tool to go around and create smaller masks on the rocket image so that then i can add colour to them to create a full rocket image with finer detail. When all that was done i exported the full rocket as a PNG because it supports alpha channel and that needed for importing it into unity. once exported i made a new unity file for a 2D game and dragged and dropped the PNG into my unity file then drag it into my scene ready for use.
then used that layer on a different image to create a clipping mask to texture it. Learning this is very beneficial as this allows me to create more advanced textures for my assets in Maya that i could use in my unity or visual effects projects.


Comments