Painting textures in Photoshop.
- Zack Scanlon
- Sep 20, 2020
- 1 min read
Updated: Sep 21, 2020
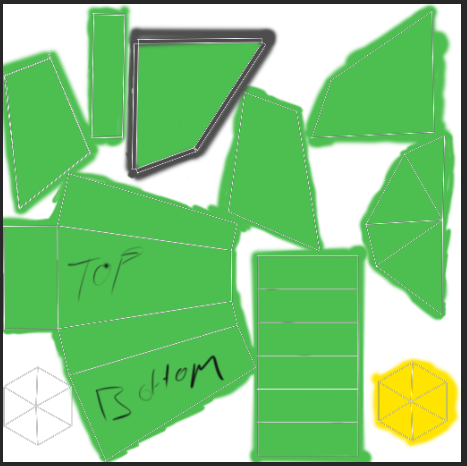
After Exporting a UV snapshot from Maya i brought the snapshot into Photoshop and created a background layer, UV overlay layer and Body paint layer for main colour also making sure that i have a layer that marks the top and bottom of the UV's so that i could accurately One the basic layers were set up then started painting the main colour to green as that is the colour i want for my ship. Once all the UV shells were all painted i added other layers for details, like the ship number on the fin and the windows and cock pit all of these really help bring it all together as all the little details do add up and if you are missing them they could make people thing that something is missing for example whilst the door isn't the most focused on thing on the asset its still important to add a door to the ship as this could make people wonder how people would actually get on the ship. I also painted the Uv shells for the back thrusters a golden yellow colour so it looks like the thrusters are hot and in use. When the texture was finished i went into maya and combined the mesh and added a new material and then using the settings i linked the snapshot to the material and now whenever i make a change to the photoshop file it will now change the material in Maya when i click the reload button on the material settings.


Comments