Nuke plane shot
- Zack Scanlon
- Oct 13, 2020
- 2 min read
Updated: May 24, 2021
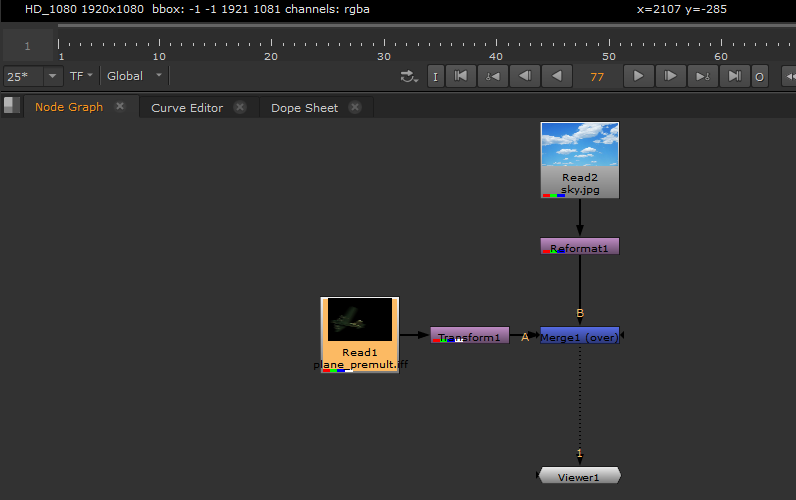
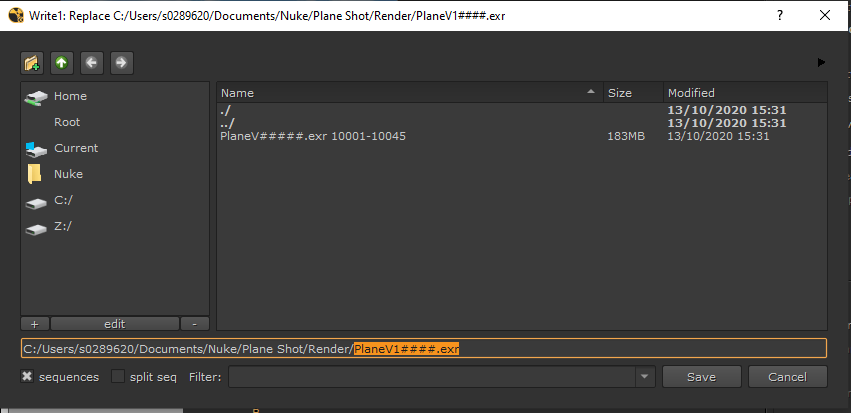
Starting with importing my assets for the shot into my nuke folder structure. Once i was in Nuke i started with refamiliarizing myself with it like the node graph where i build my script and the property tab where i can adjust properties of a certain node for example i used that tab to set my script settings like the resolution and script directory. I then started by importing my two assets (sky and plane image) pressing one when i have an asset selected allows me to view it however i want to be able to see both so i used a merge node and link B to my background for the shot and then A for my plane asset, i then put a transform node between the plane asset and the merge node so that i can animate the plane across my shot i then duplicated the asset node section 2 more times and used a backdrop node to organize each plane so i wouldn't get confused, i then animated them across the frame. Whilst i was animating them i used the dope sheet to adjust the timings of each plane as they where all at different heights relative to the camera so for example the plane closer to camera will move across the camera at a different speed whereas the one further away would take long to cross the frame. Using the write node to give me the options to export my shot i put it into my render file and then used frame padding and dotting my file as an exr to export my scene. When i rendered it out and viewed the shot in nuke the planes were not showing but when a frame was opened in photoshop they were, so after some trouble shooting i had to tick the pre-multiplied box in the write node and then the issue was solved.
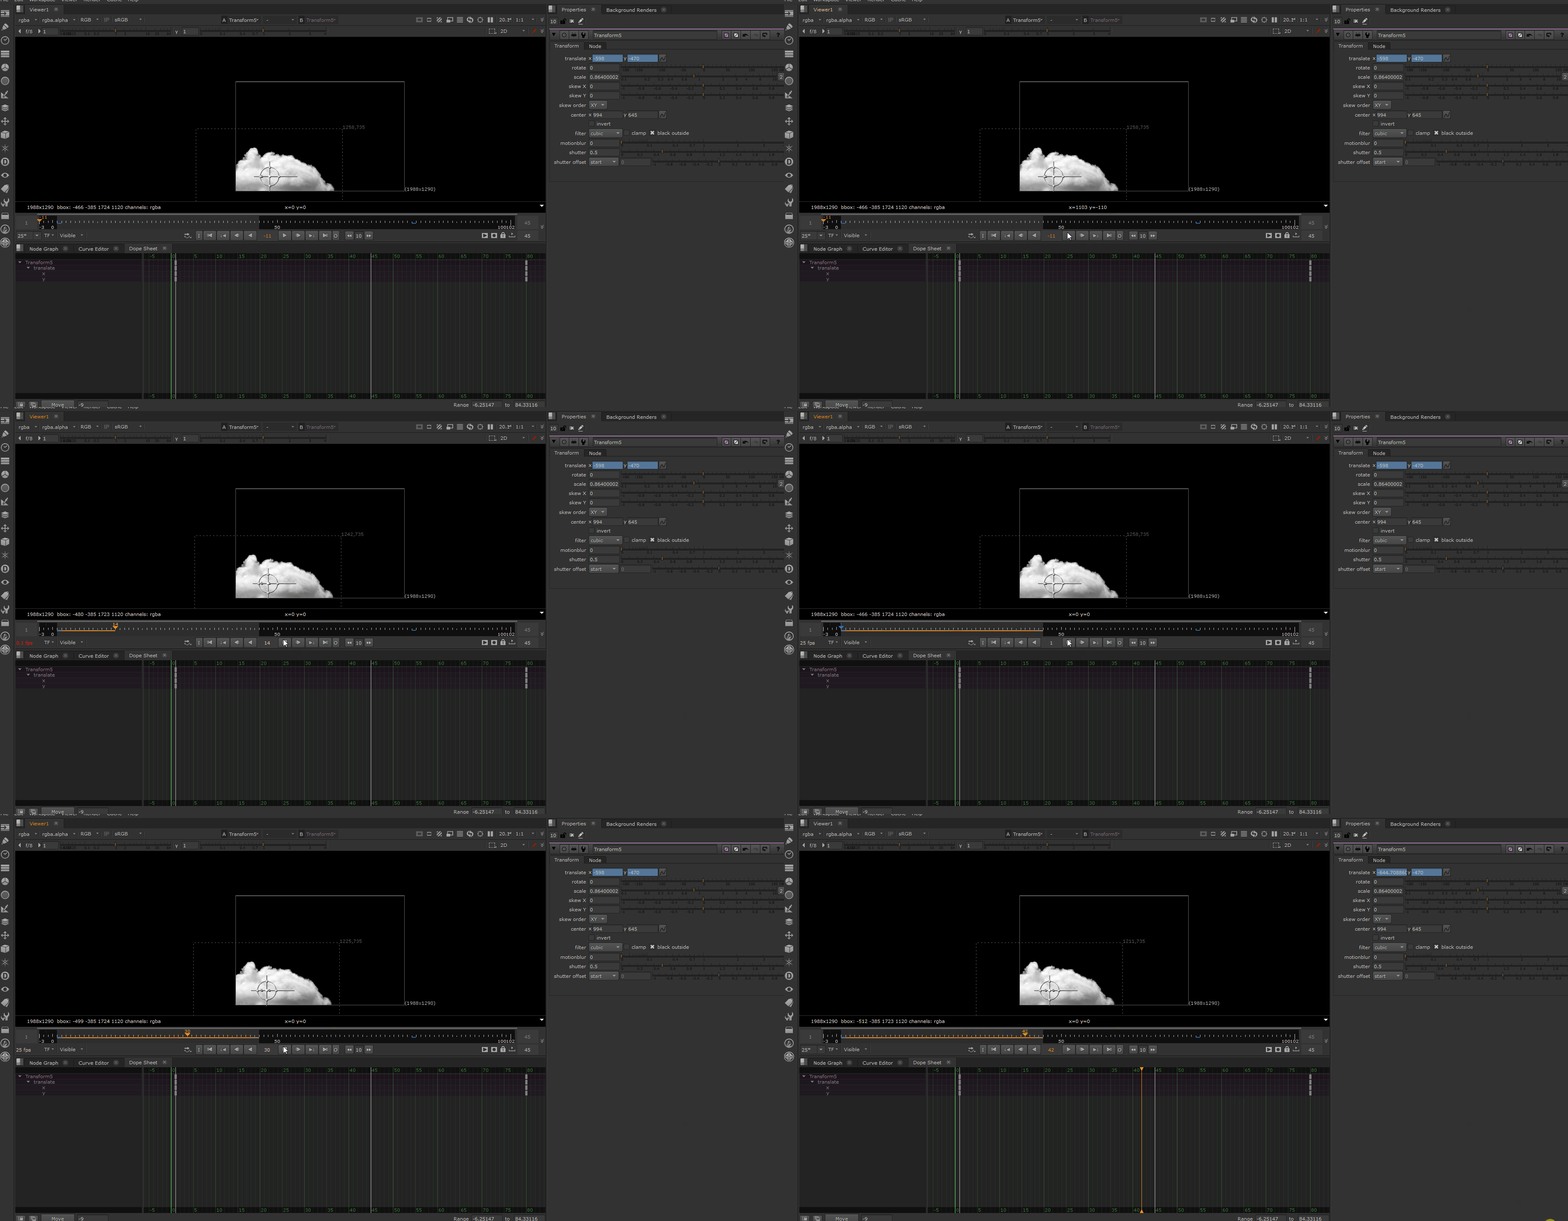
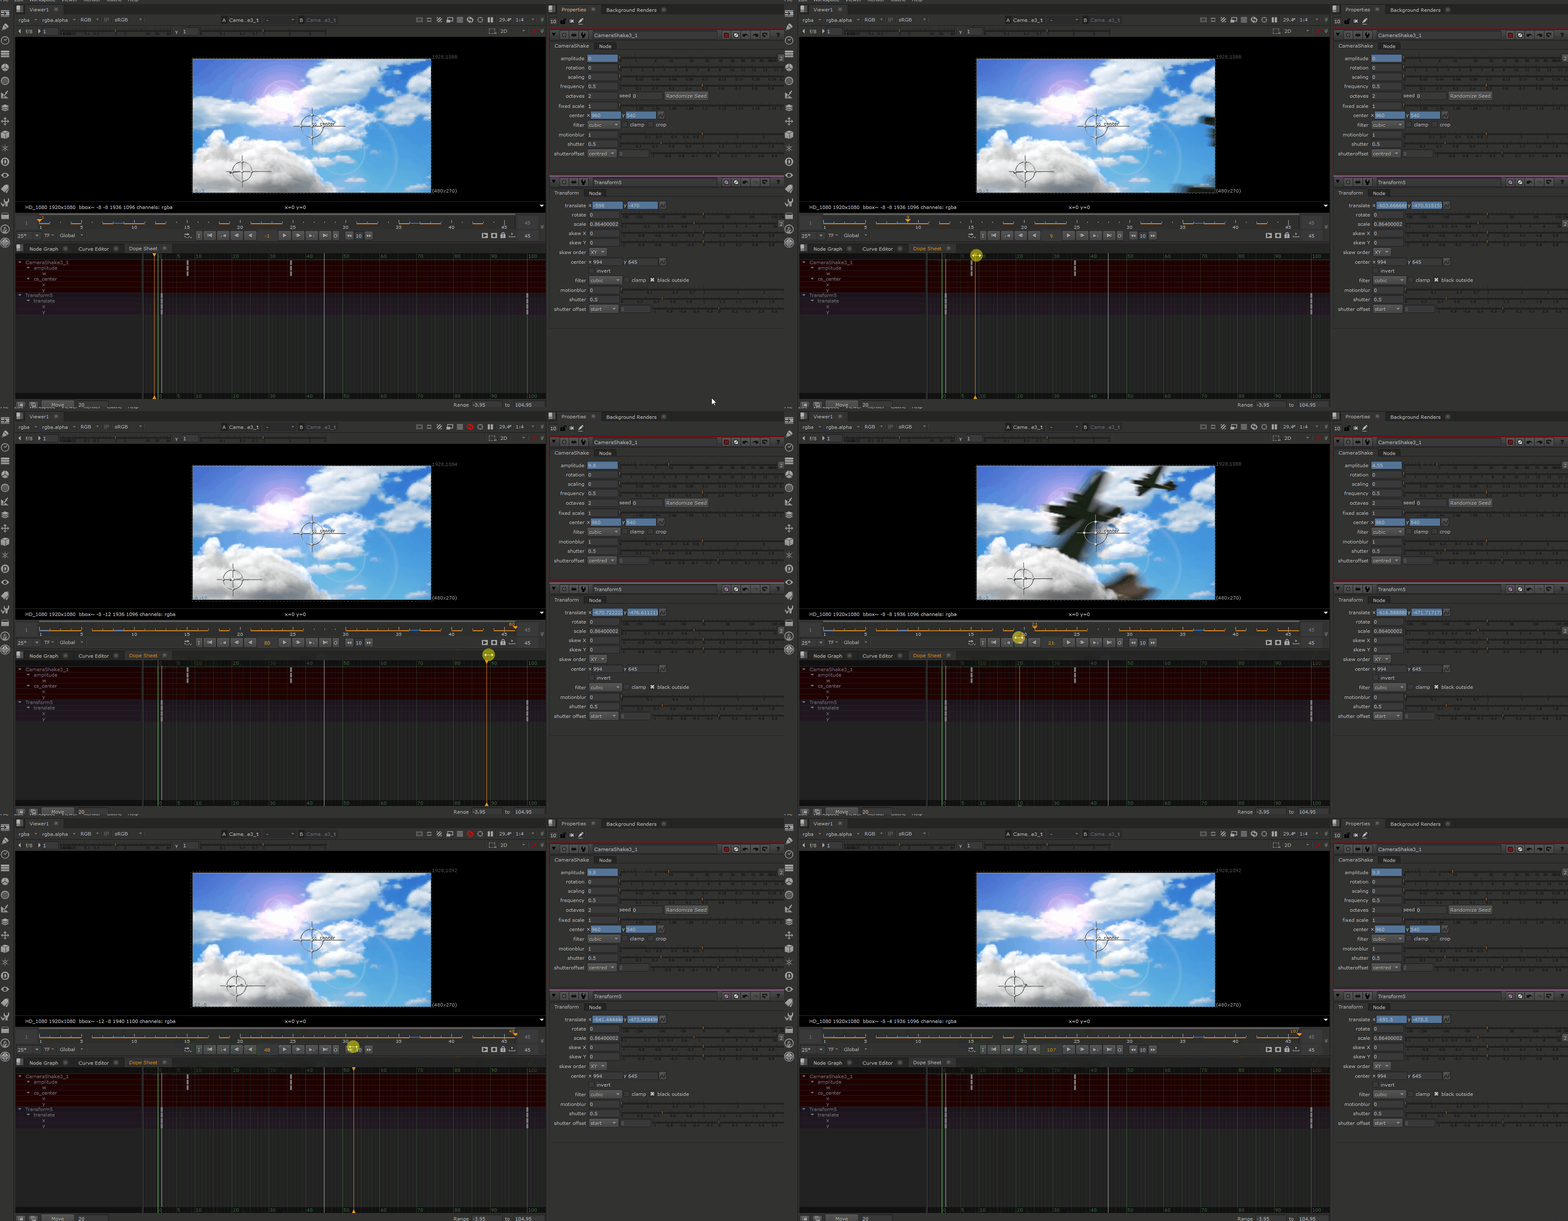
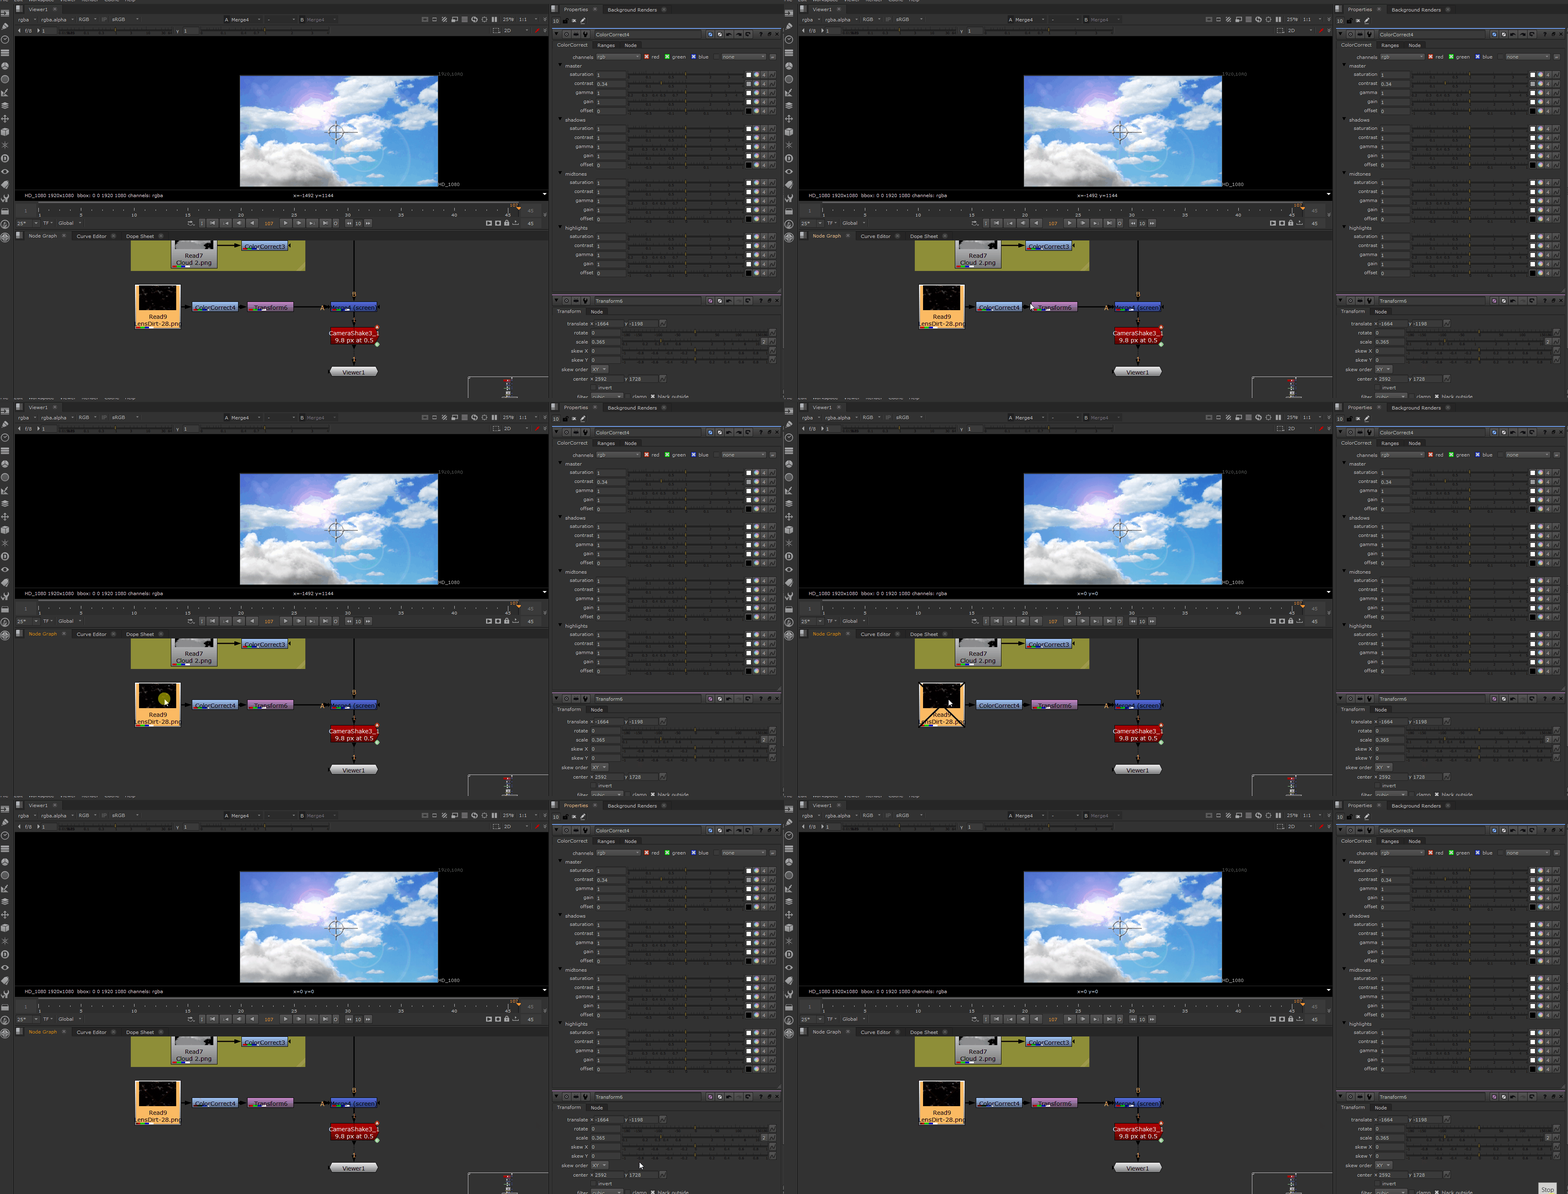
After i completed the main shot i wanted to add a few extra bits to the shot to make it more believable so i started by creating a lens flare in After effects then exported it an a exr so that i have an alpha channel i then put it into my nuke script at the beginning so that i can put some clouds partially over it and when the planes fly by it creates interaction within the shot. I then added some clouds so that they also cover up parts of the plane when they move through the shot so they blend much better and to further blend it i used a colour correction node and match the colours to match the sky background. To make the planes flying by feel more powerful and connected to the scene otherwise they felt quite weightless to me without it. The last thing i added was a Lens overlay to ever so slightly make the camera dirty so that the footage didn't look uniformly clean.








Comments