modelling a windup key.
- Zack Scanlon
- Oct 6, 2020
- 4 min read
Updated: May 24, 2021
October 6th 2020
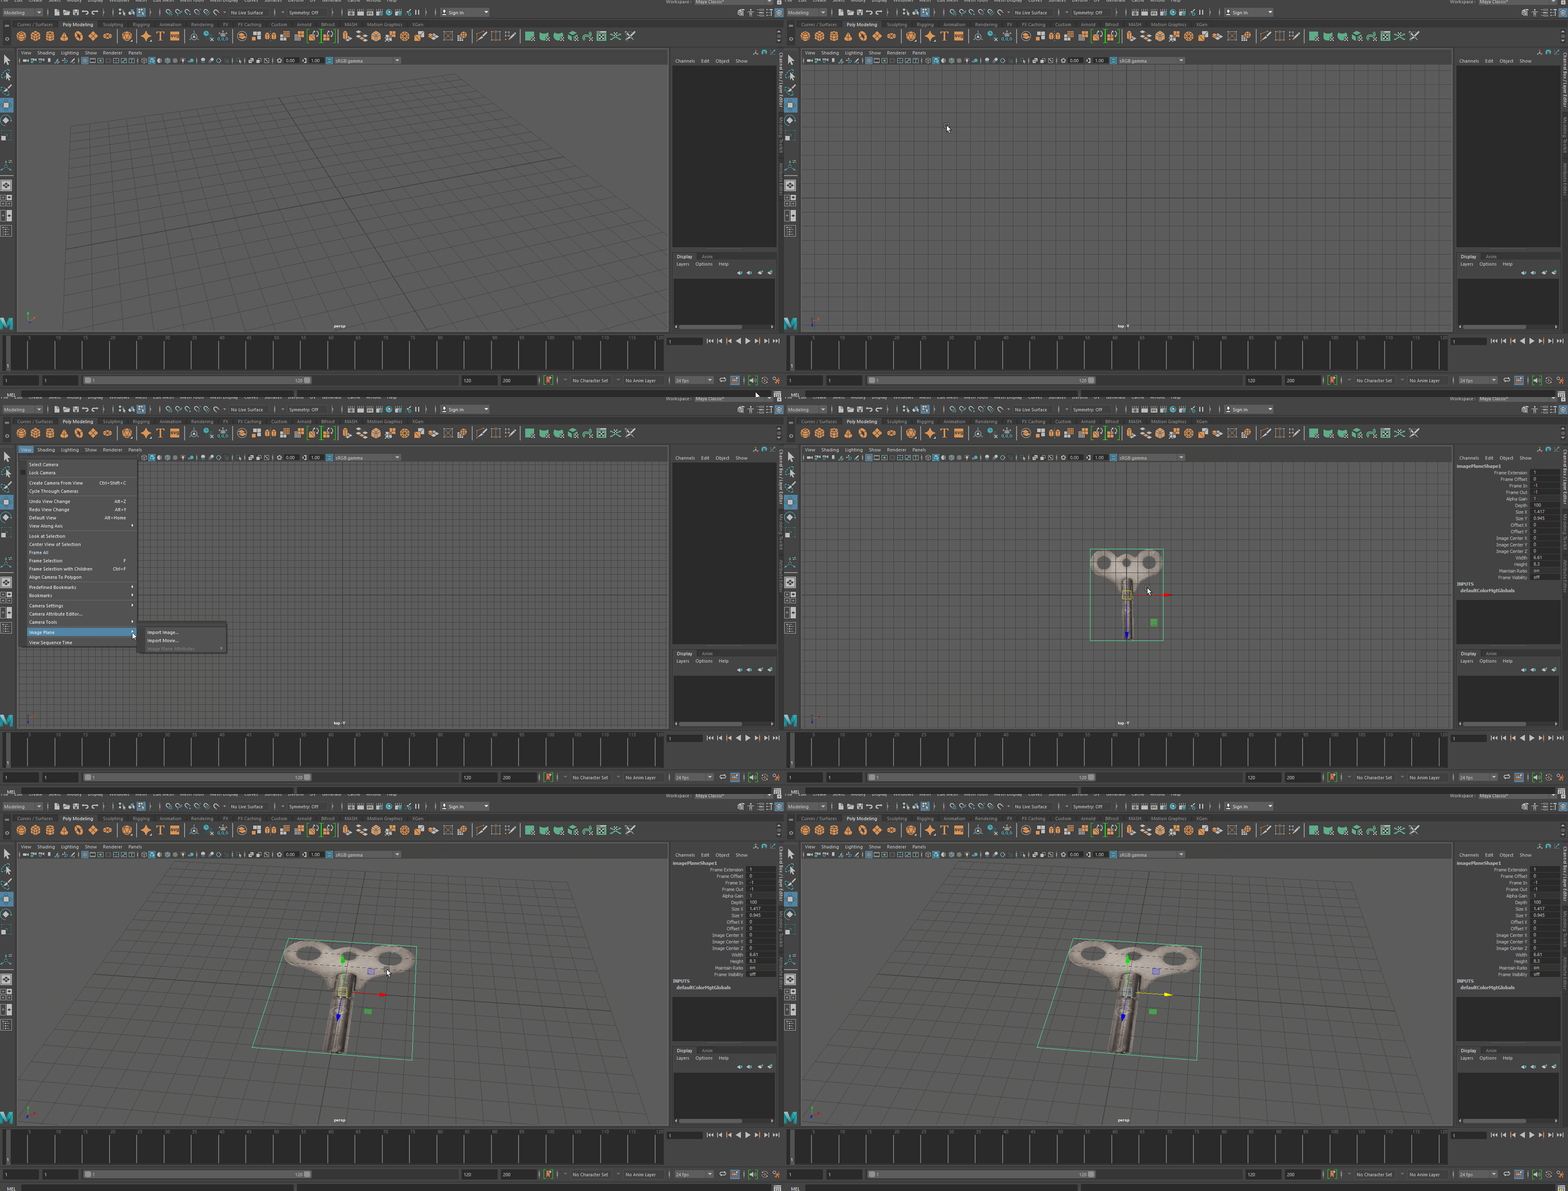
Start with getting a reference image that I can base my asset on is the first step. But before going to Maya I had to take the reference image into photoshop to optimize it. I first started by adding rulers to the key image to check if it is aligned and it was so using them as a guide i used the transform tool to rotate until it was properly aligned, i then used the magic wand to key out the white background then i just cropped the image to not waste any space and once i was happy with that i then exported it as a PNG as that supports transparency which is important to have when i bring it into Maya.
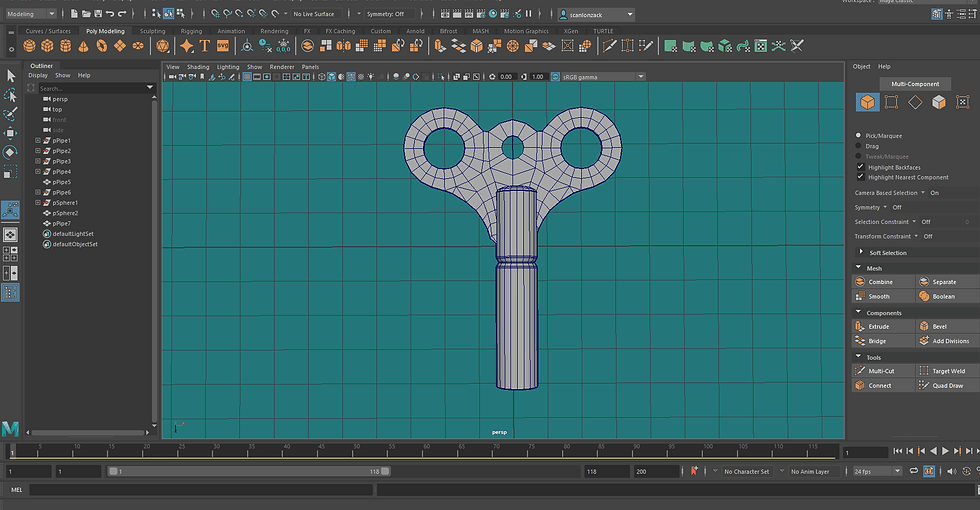
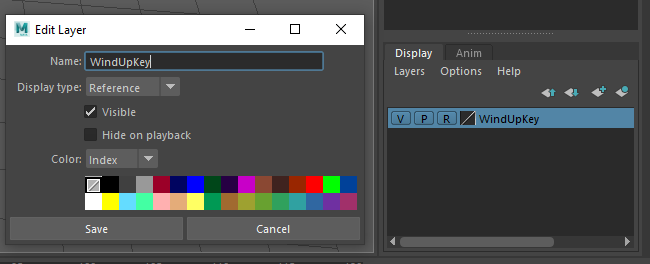
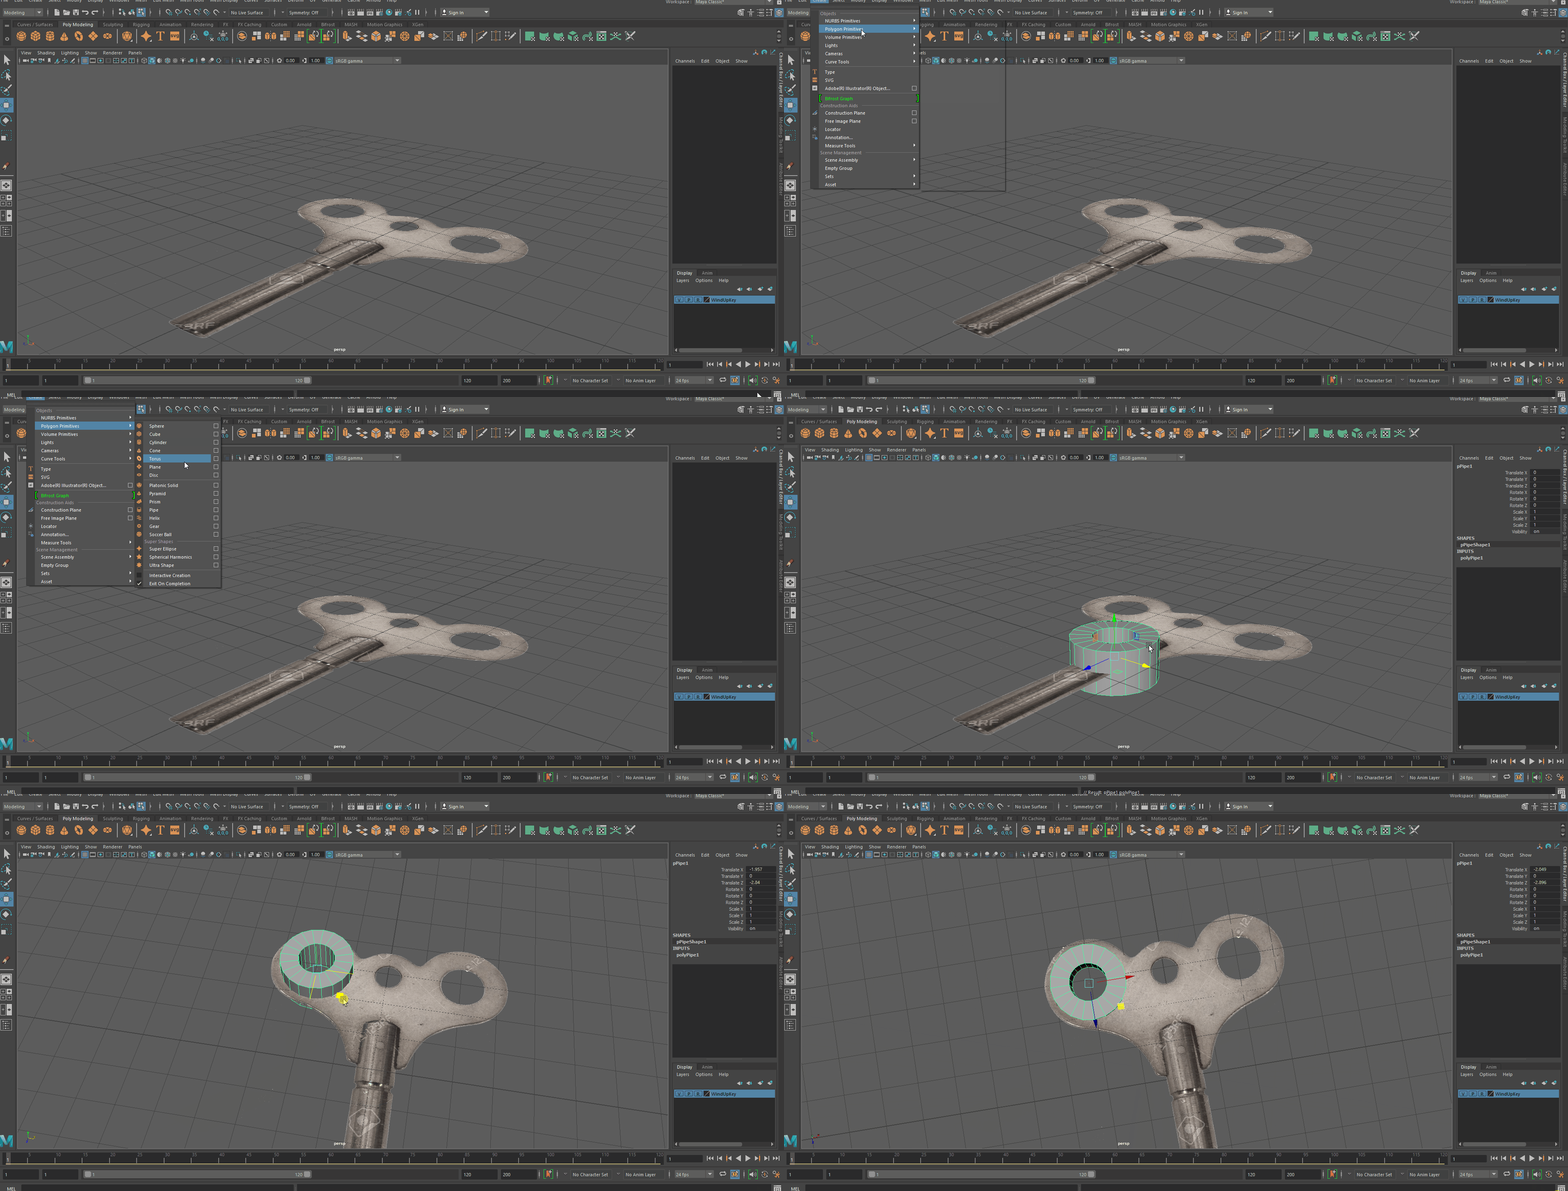
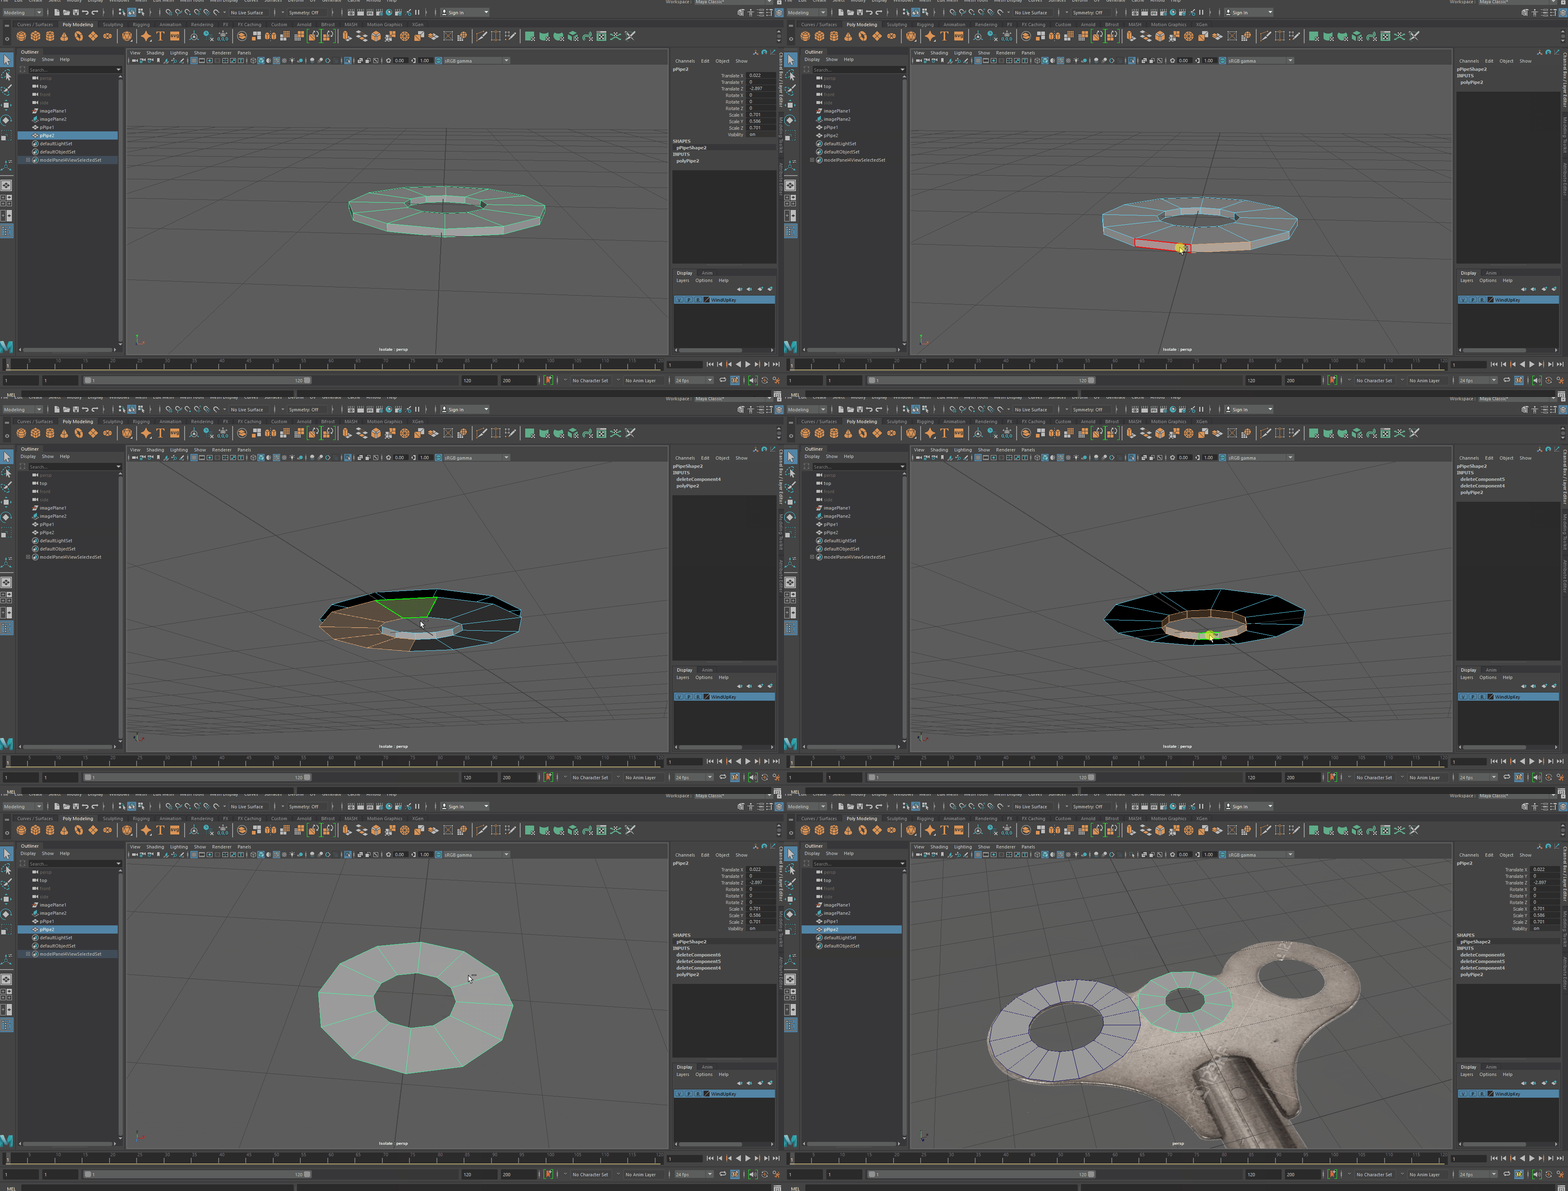
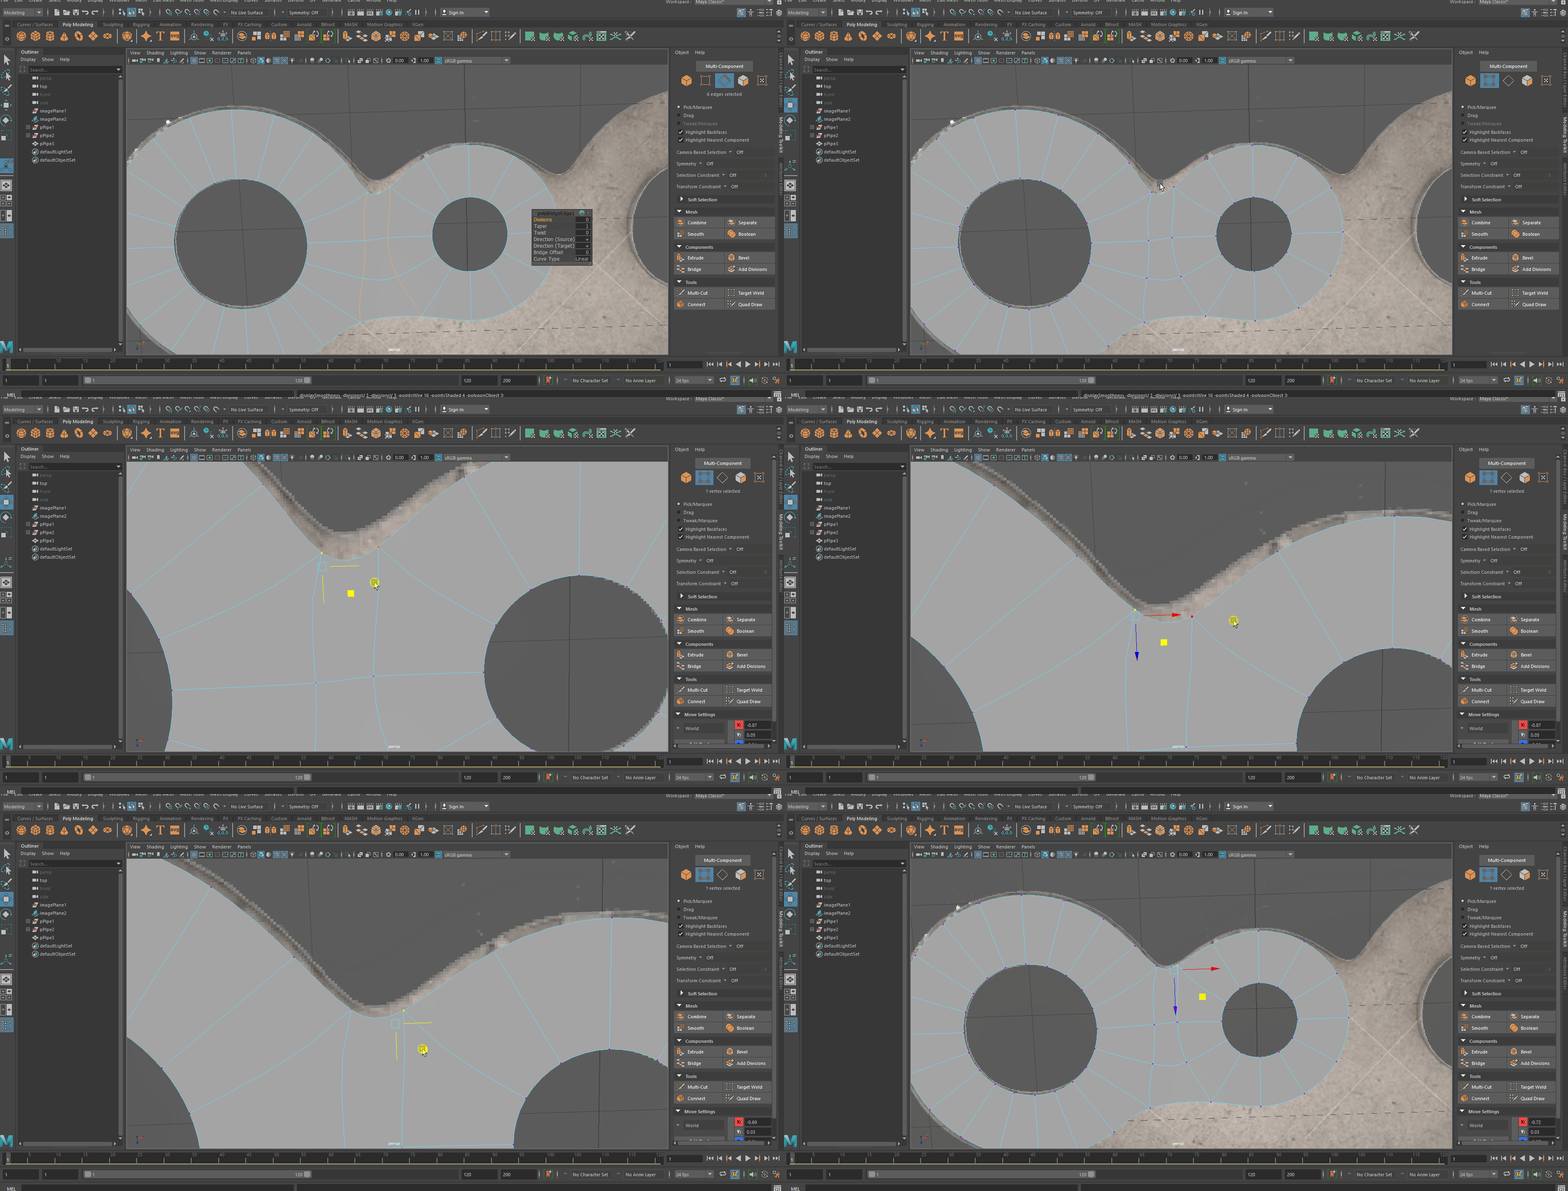
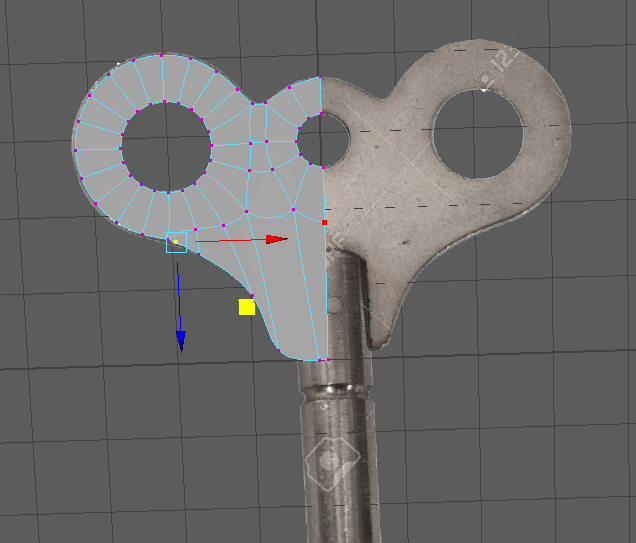
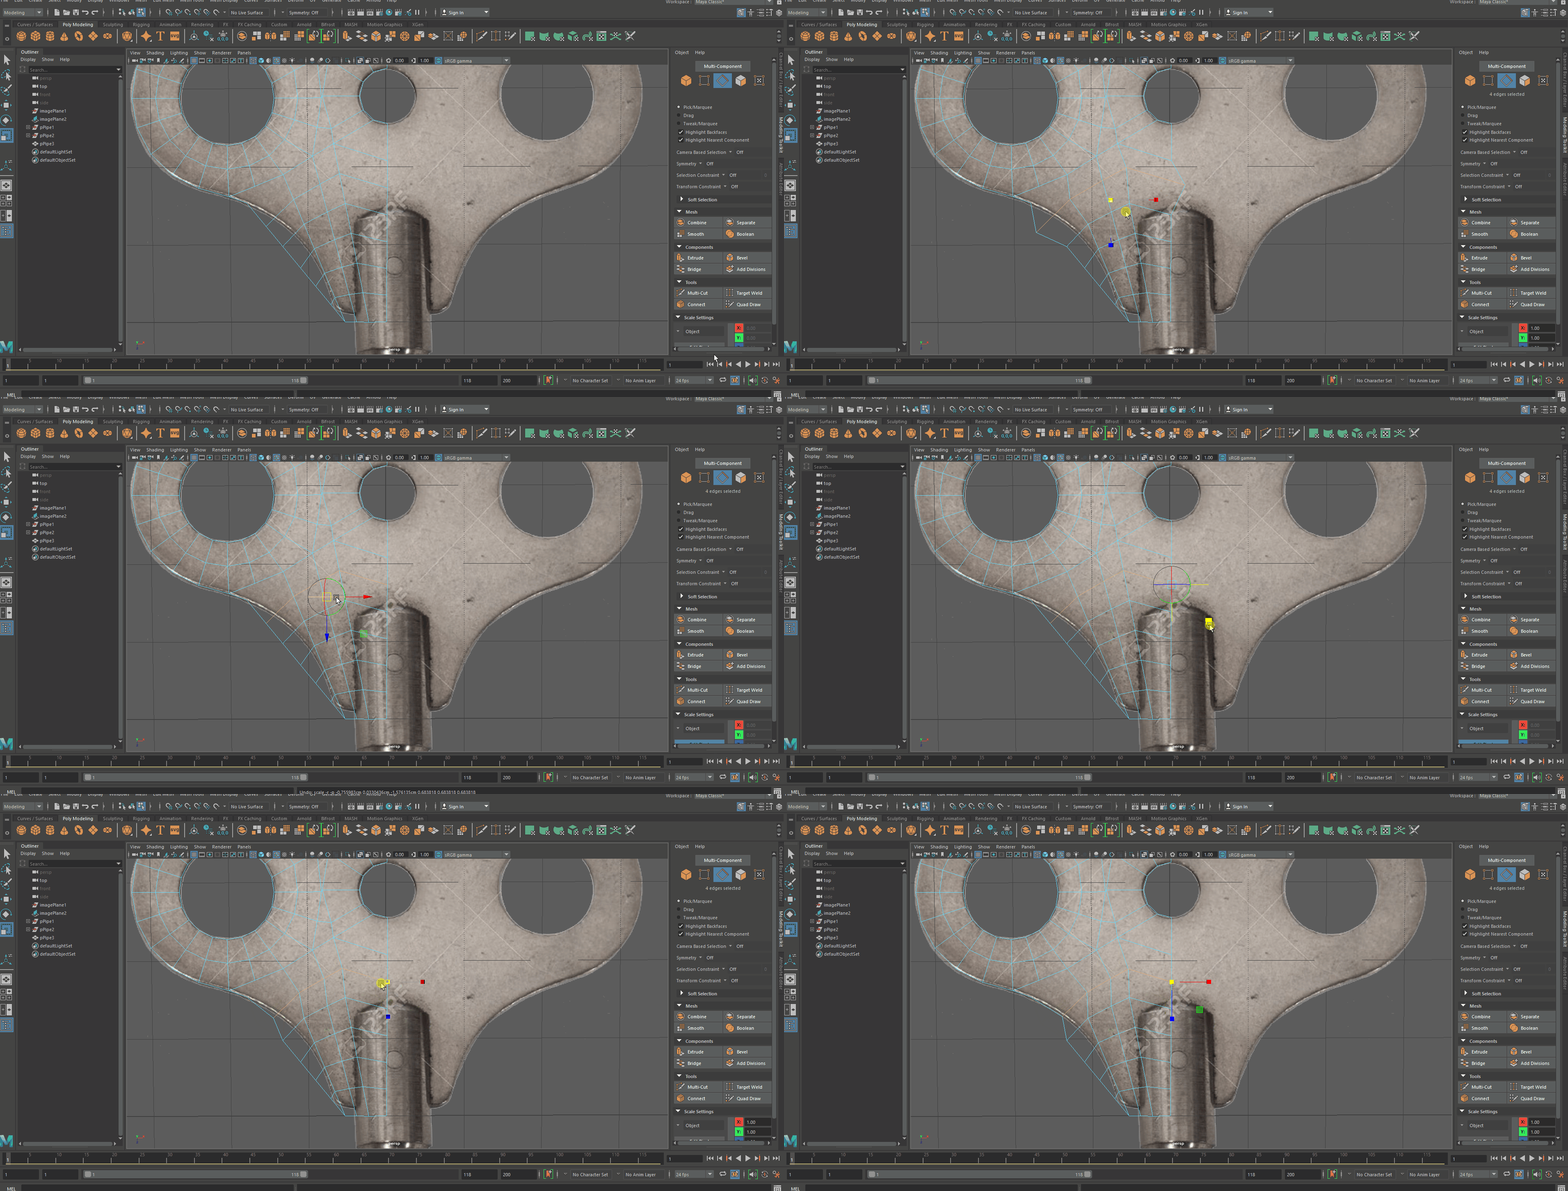
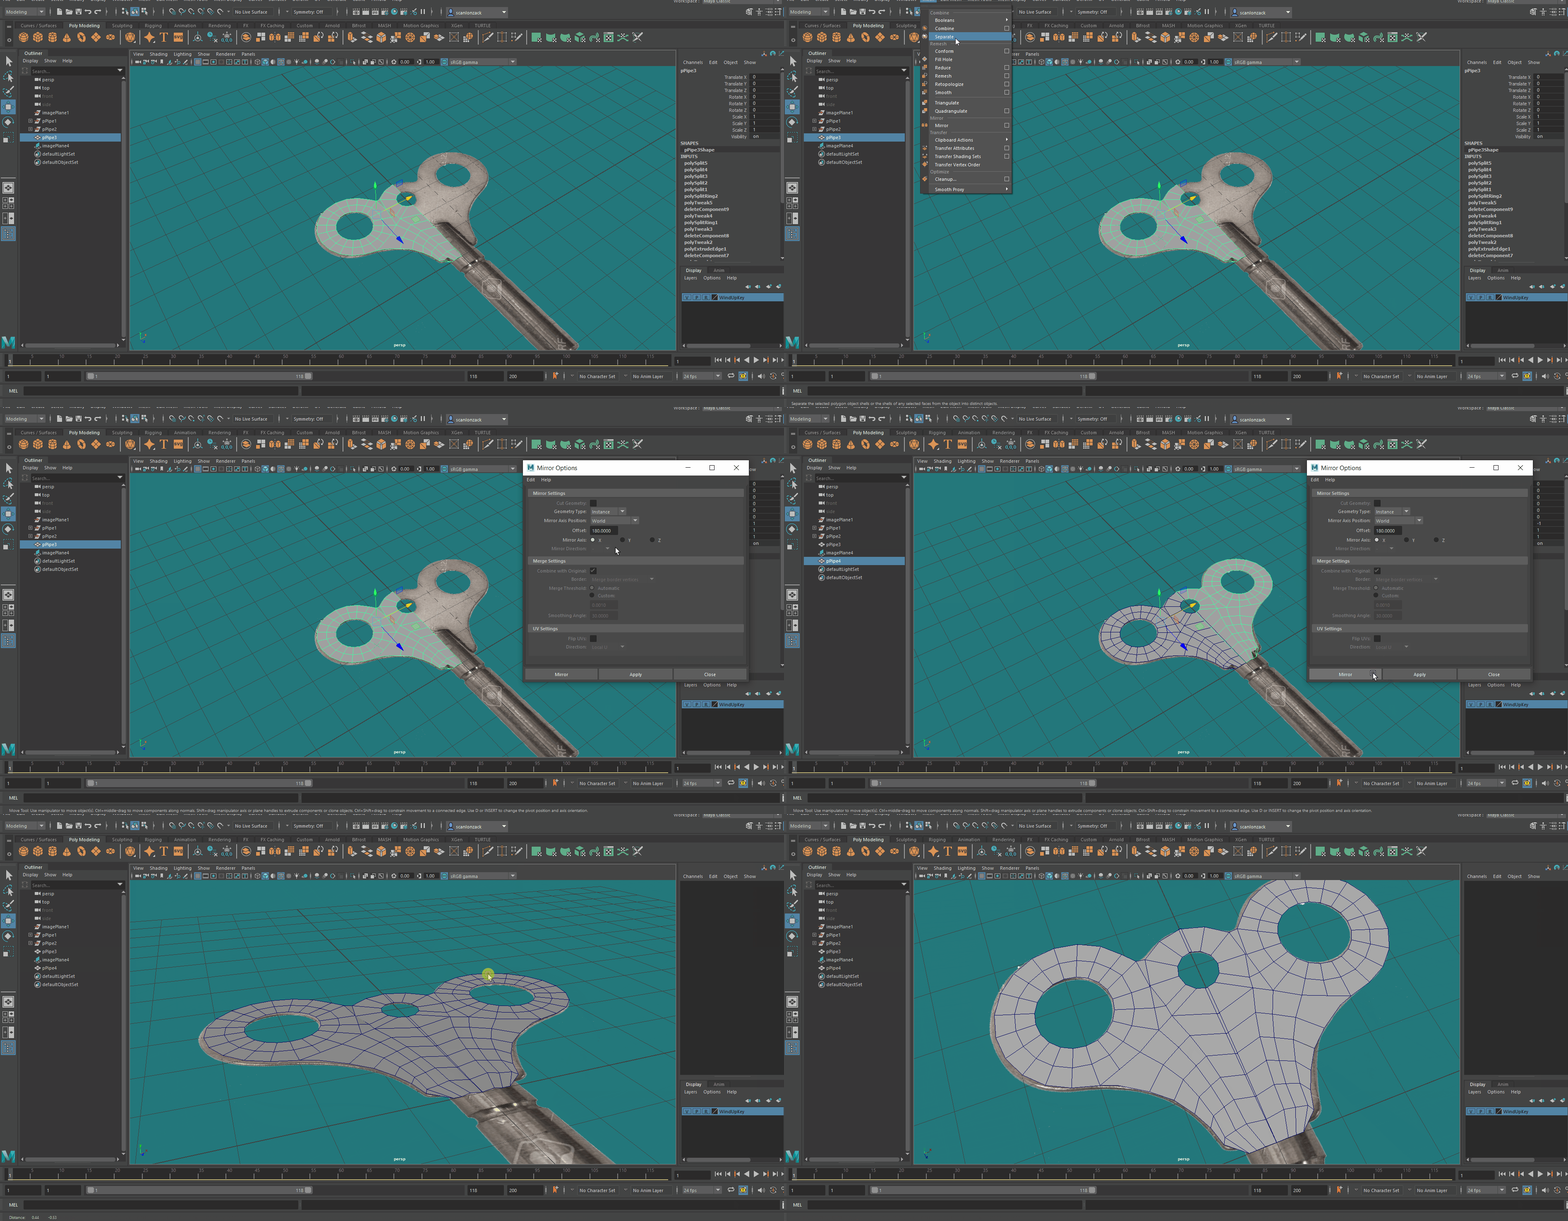
Now that the key is ready to bring into Maya i put the image into the source images folder for my Maya project then went into a top down view and went to view then import image plane and selected the image that i put in the folder now it is in my Maya scene ready to use as reference. I then selected my image plane and then created a new display layer for it and then labelled it and then set it as reference so that when i am modelling i don't keep on selecting the reference and moving it. Next was spawning in a pipe primative as that is the most accurate shape that Maya has for starting to model the bow. I then brought in another pipe for the smaller middle section and repeated that process but after i done that i adjusted the subdivisions of the smaller one to match the one to its left and made sure that the middle had a edge loop so i can delete it and mirror it later. After that i then combined the meshes together and then selected edges in edge mode that i could then use to bridge tool to join them and once they were joined i went into vertex mode and moved the vertexes so that i can get the curve between the pipes like in the reference image. Then selecting the base edges of the new shape created i extruded them down and then lined them up, after i lined up vertexes to clean them up and then straighten them out then i added five edge loops to the new extruded faces and then scaled one row of edges down so that they would match the keys curves however it was scaling in both sides so i had to move the pivot point to the right side of the selected edge loop because then i will only scale the left side all i had to do was repeat that for the other edges, with the first half done i just had to mirror it to give the other half of the key then all i had to do was go around and give the edges a bevel so that they aren't too sharp and match the reference.
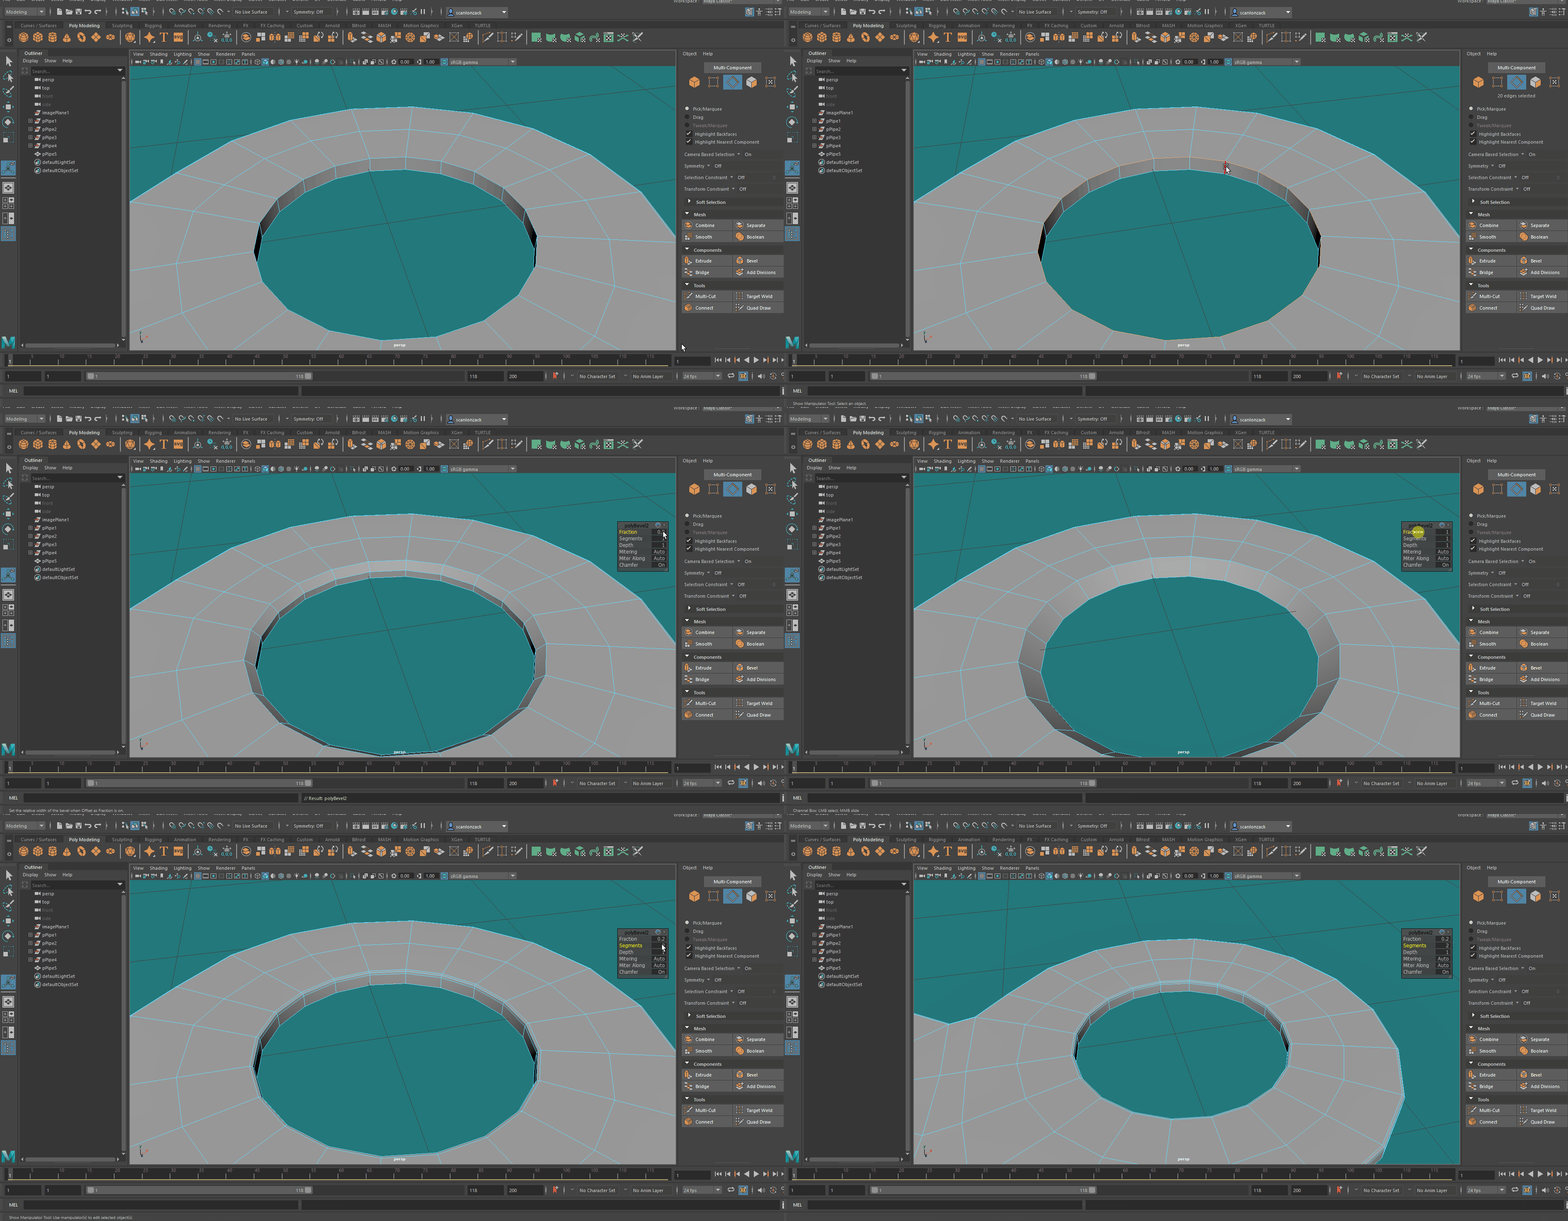
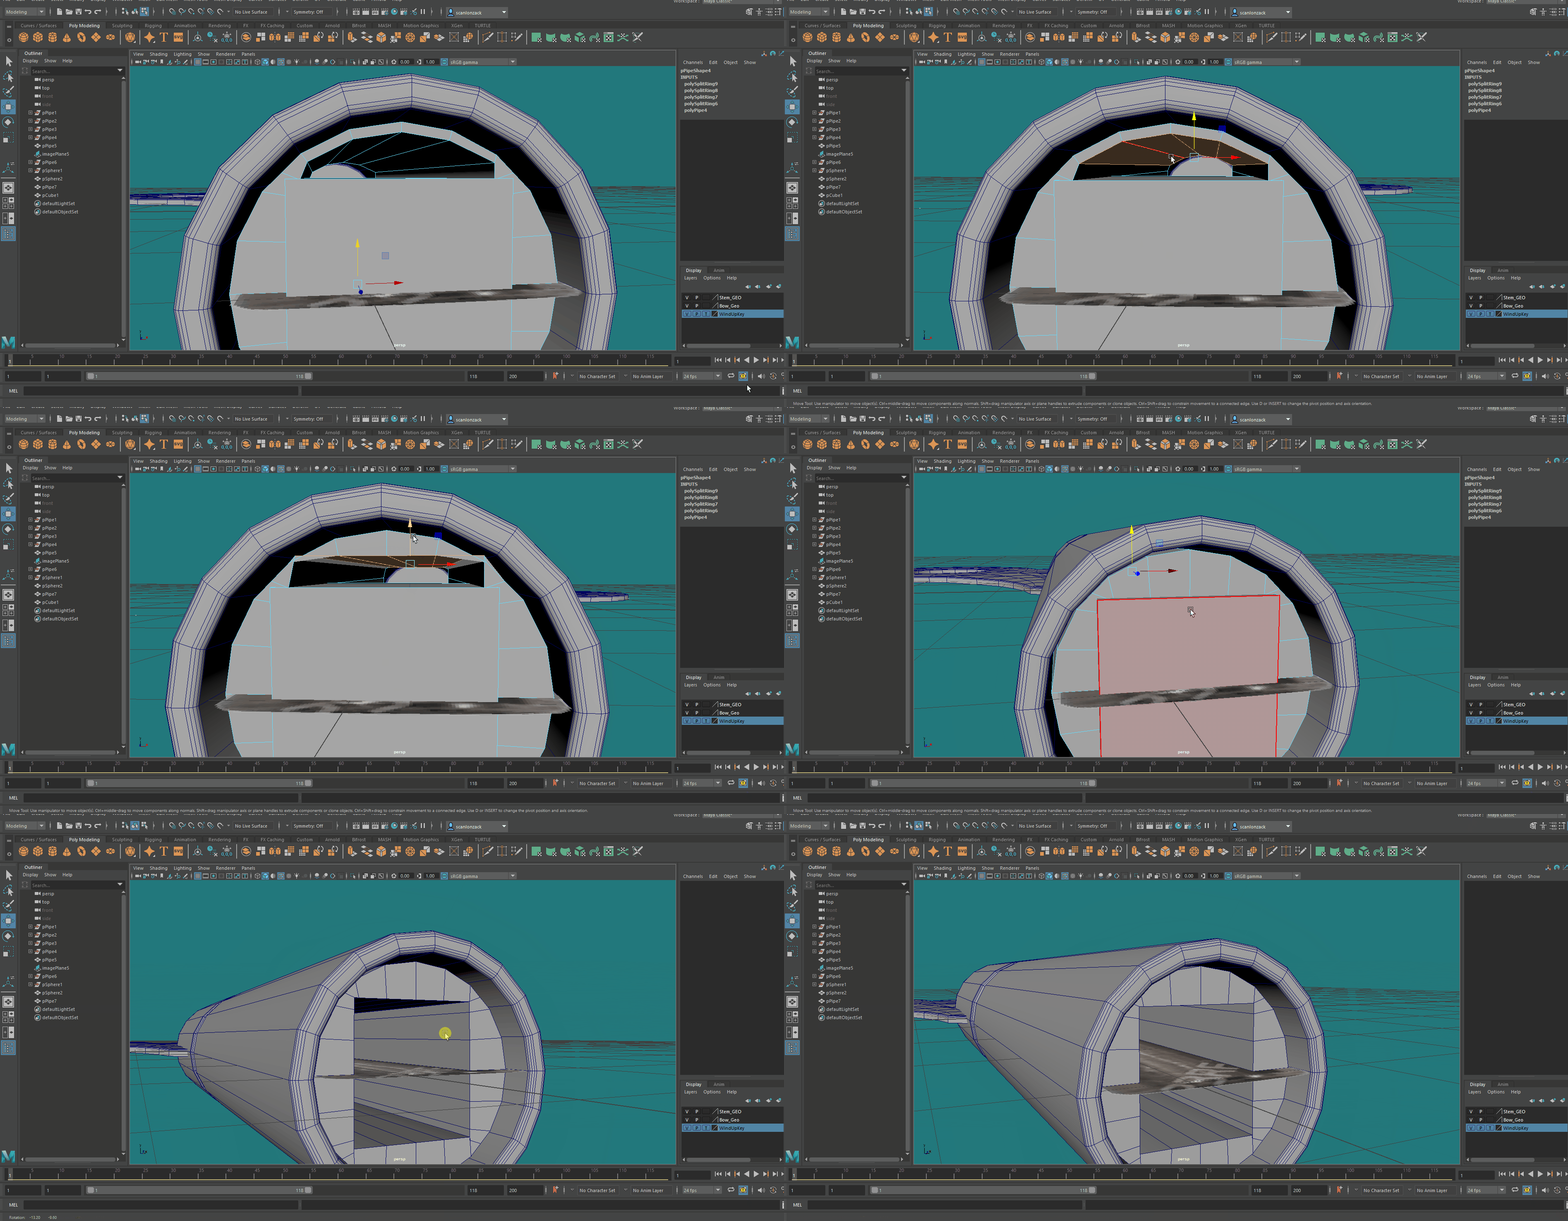
To start modelling the stem for the key i spawned a pipe and by pressing T i brought up the setting for the pipe and played around with them until they matched my reference. An issue that i had when i went into smooth mode was that the edge was losing thickness so I had to bevel the inner and outer loops at the end. To begin adding some detail to the stem I went into X-ray mode and a top down view and added edge loops to where the indent in the stem would be. I then selected the inner edge loop and scaled it inward then check it in smooth mode however it needed more geometry to properly smooth out so I selected both outer edge loops and bevelled them and added some segments after i selected the inner ring and pressed G to repeat the bevel i had just done, then i checked it in smooth and the indent looked smooth. After i added a sphere and changed the radius to match the polypipes radius and then moved it up ward to sit on the poly pipe then scaled in on its Z axis to give it a squash like in the reference. For the insert at the base i put a poly pipe that i matched with the stem within it and then brought a cube in for reference and the went into insert edge loops and selected the multiple edge loops options so that when i put an edge loop in it would be in the middle of where i wanted this, then using the cubes corners as reference i put a edge loop in on the poly pipe where a corner of the cube was. Then to make it square i selected a few faces at a time and then scaled them in one direction and the used the move tool to straighten it out and repeating that 3 more time gave me the square shape and then bevelled it so when i went into smooth mode it would actually be smooth.
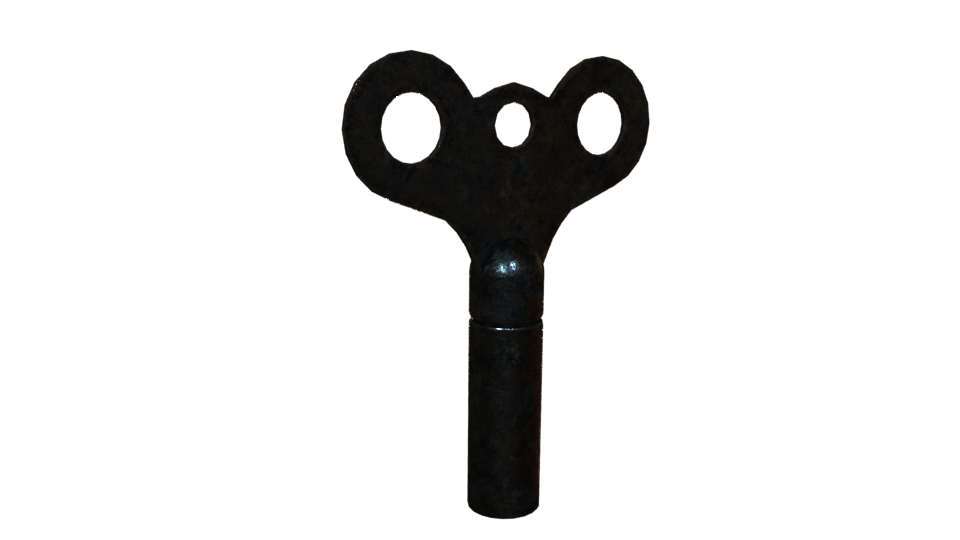
This is the completed Windup key model.
April 8th 2021
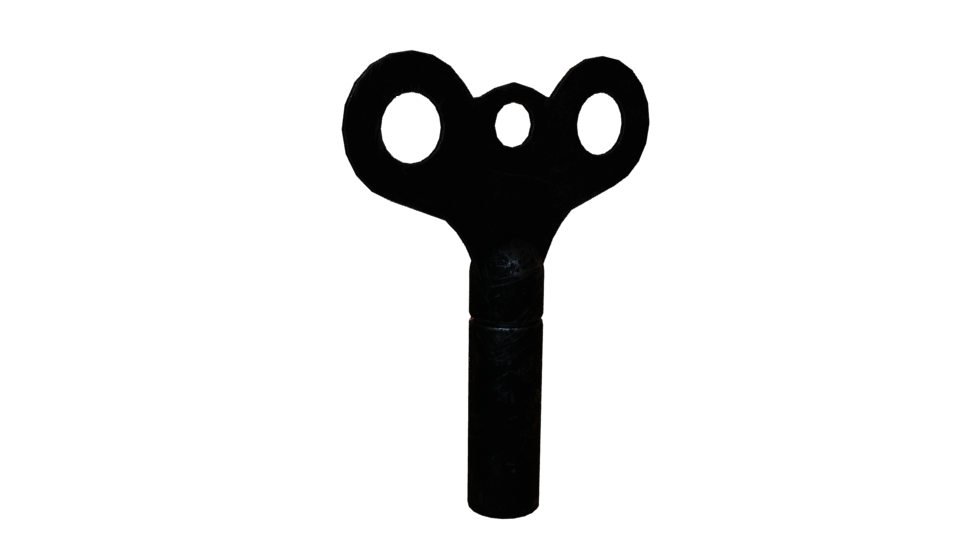
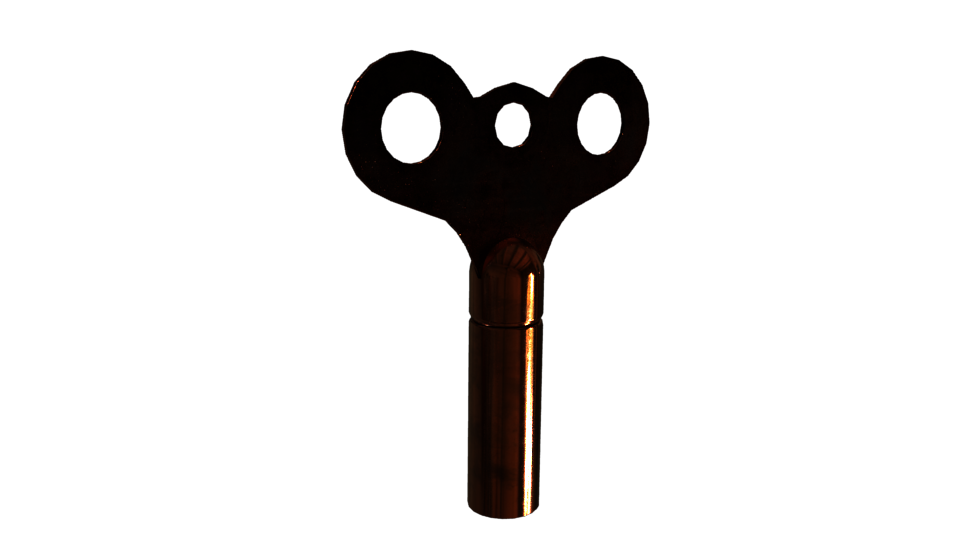
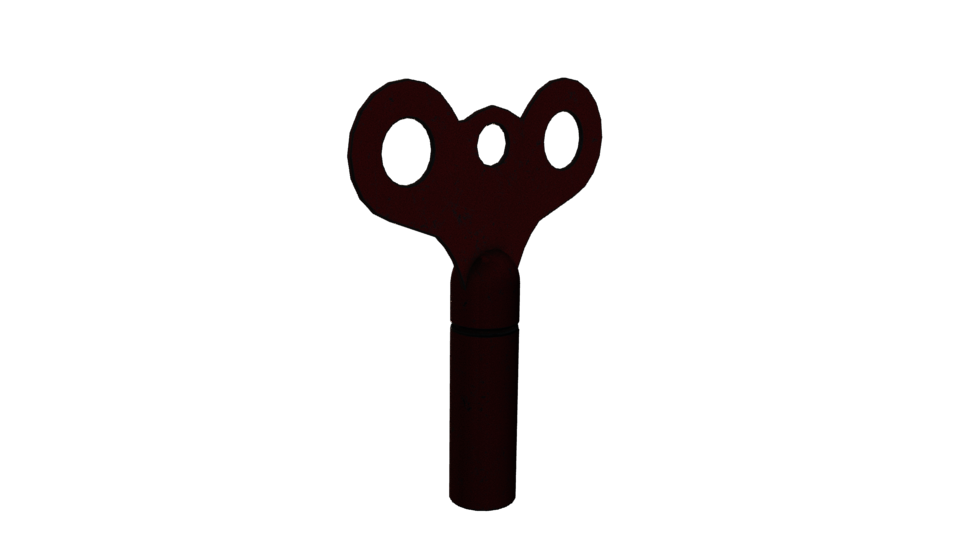
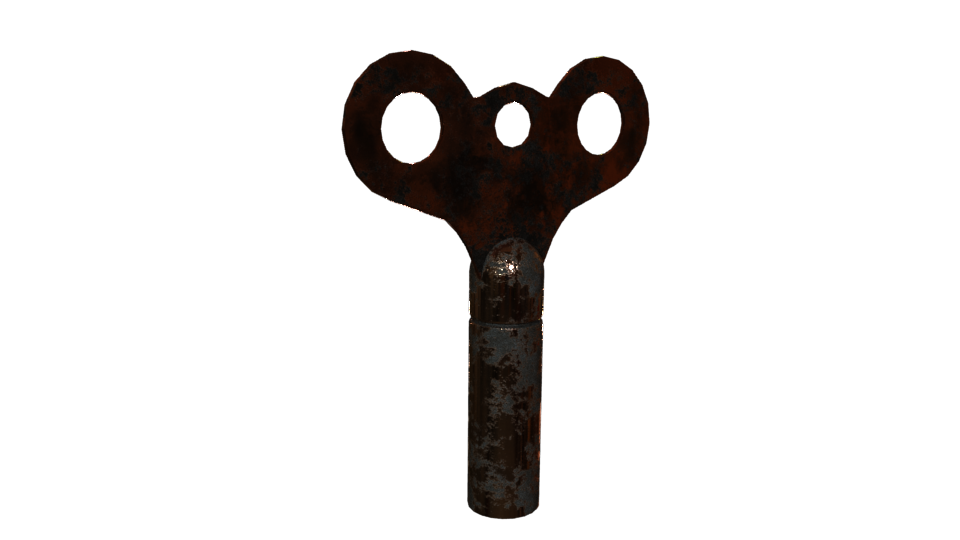
Today i decided to revisit this model and apply some textures now that i have gain more experience both in Maya and Substance Painter. Upon reloading the file and subsequently exporting as FBX to take into substance there was an issue applying the texture. So i went back to Maya and on the underside of the key the vertices weren't merged and went i looked in the model itself and there were faces inside. So instead of cleaning it up i decided to remodel it from scratch because now with more experience and knowledge i could produce a much better model than the one before. The modelling process was simple enough so i exported it as an FBX and opened it in Substance and baked the mesh maps. In substance i played around with the textures that i thought would look good for the key and then applied and exported them . I applied the textures in Maya and then lit them with an HDRI.
















Comments