top of page
Writer's pictureZack Scanlon

Modelling a stamp

Updated: May 24, 2021

Topology draw over

I started by taking pictures of the object that i would like to model and then took it into photoshop and did a topology draw over to help me get an idea of what basic primitives' that i could use to start modelling my object and how i can break it up to make it more manageable. For example using half a cylinder for the main frame.

Modelling

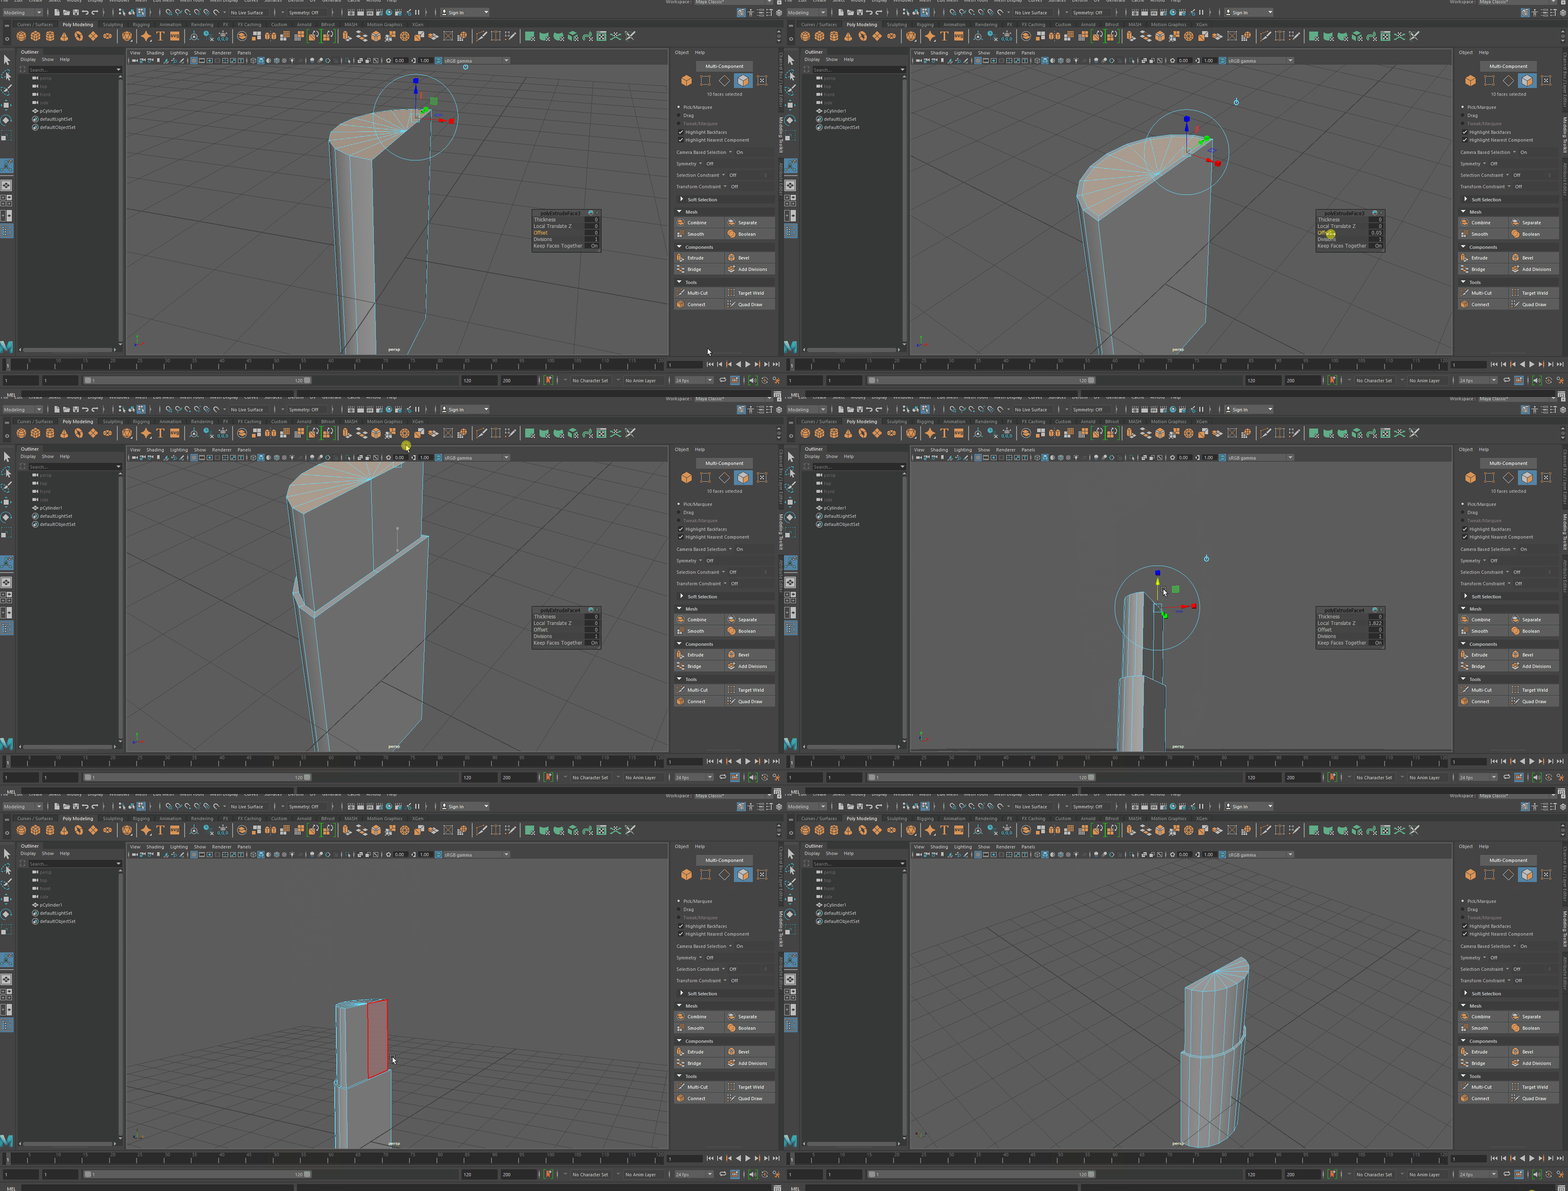
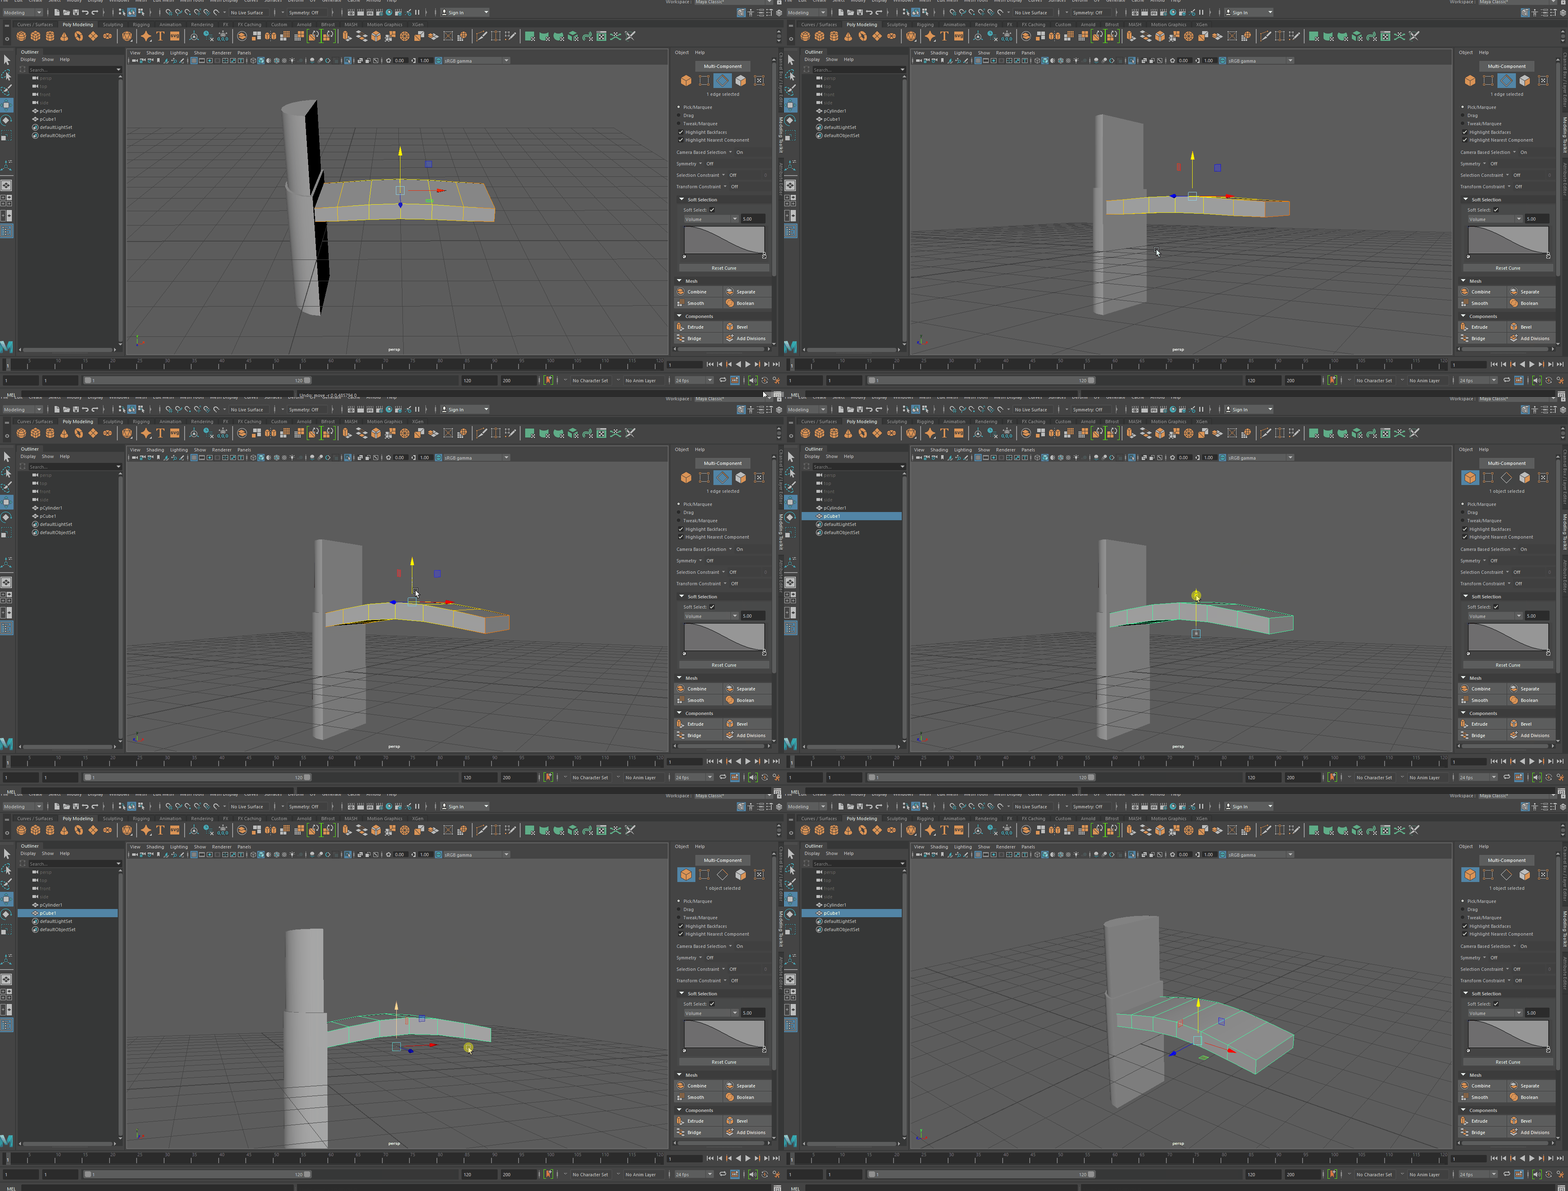
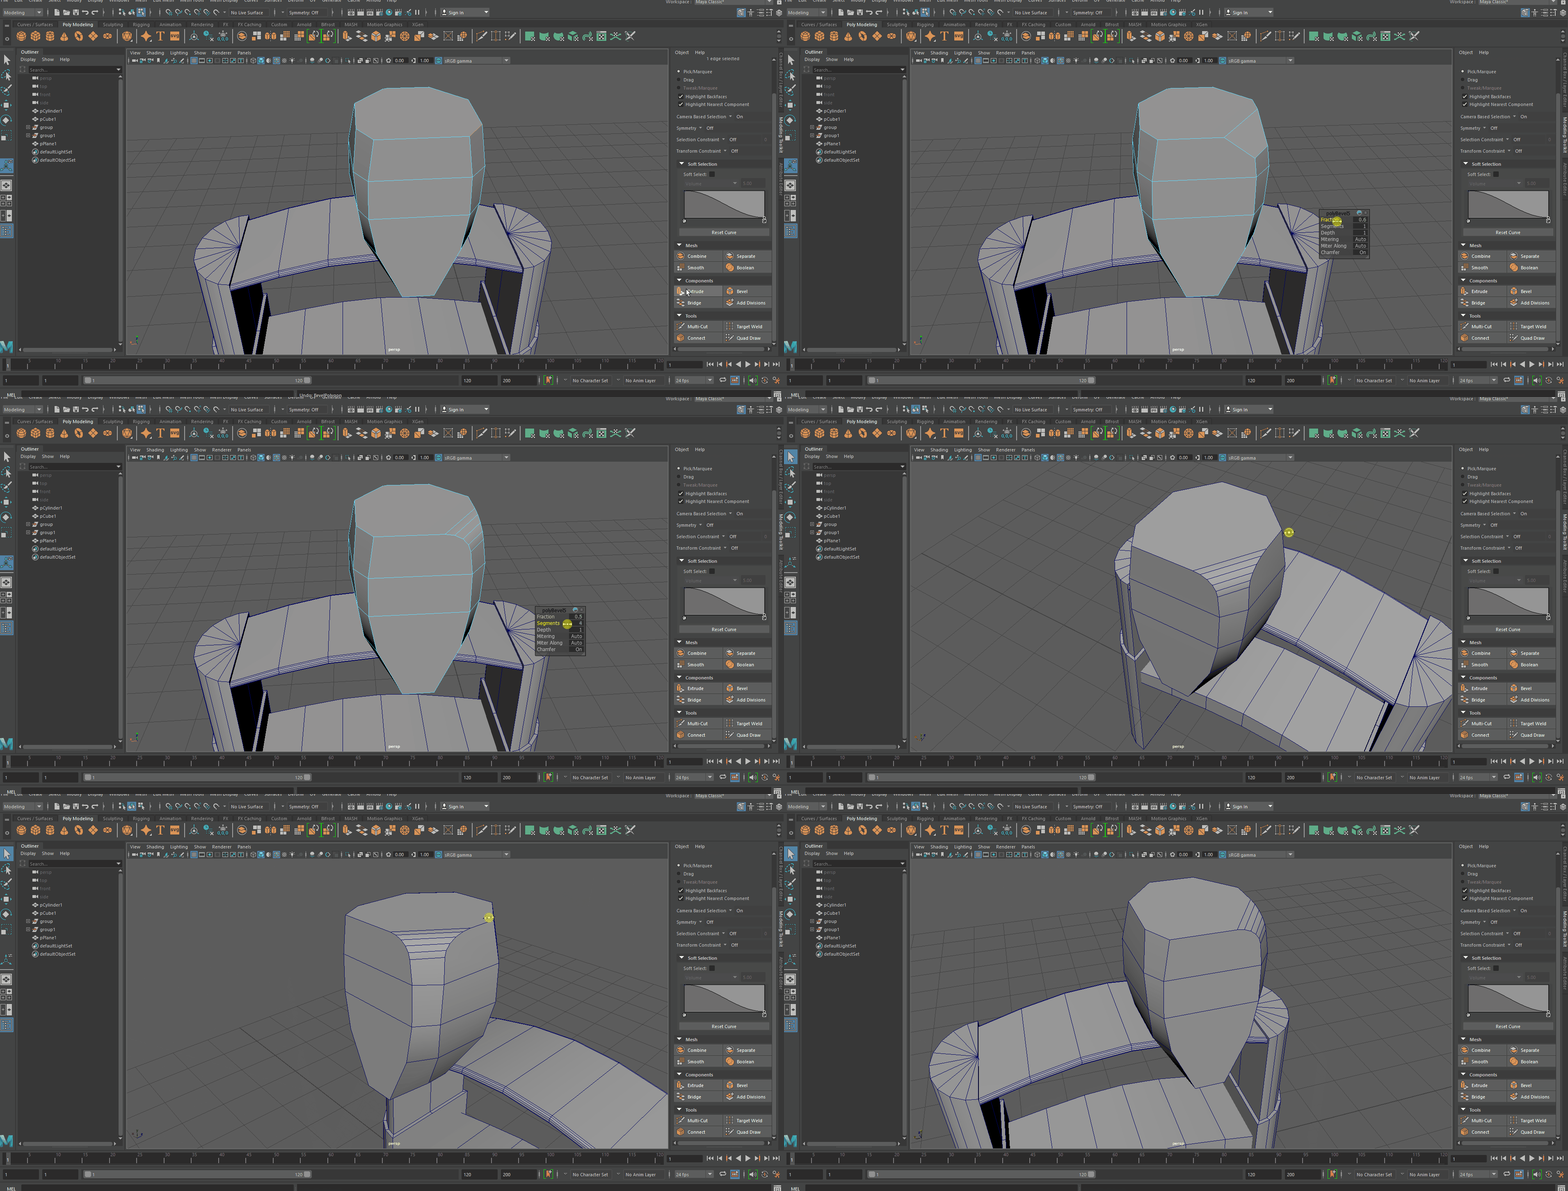
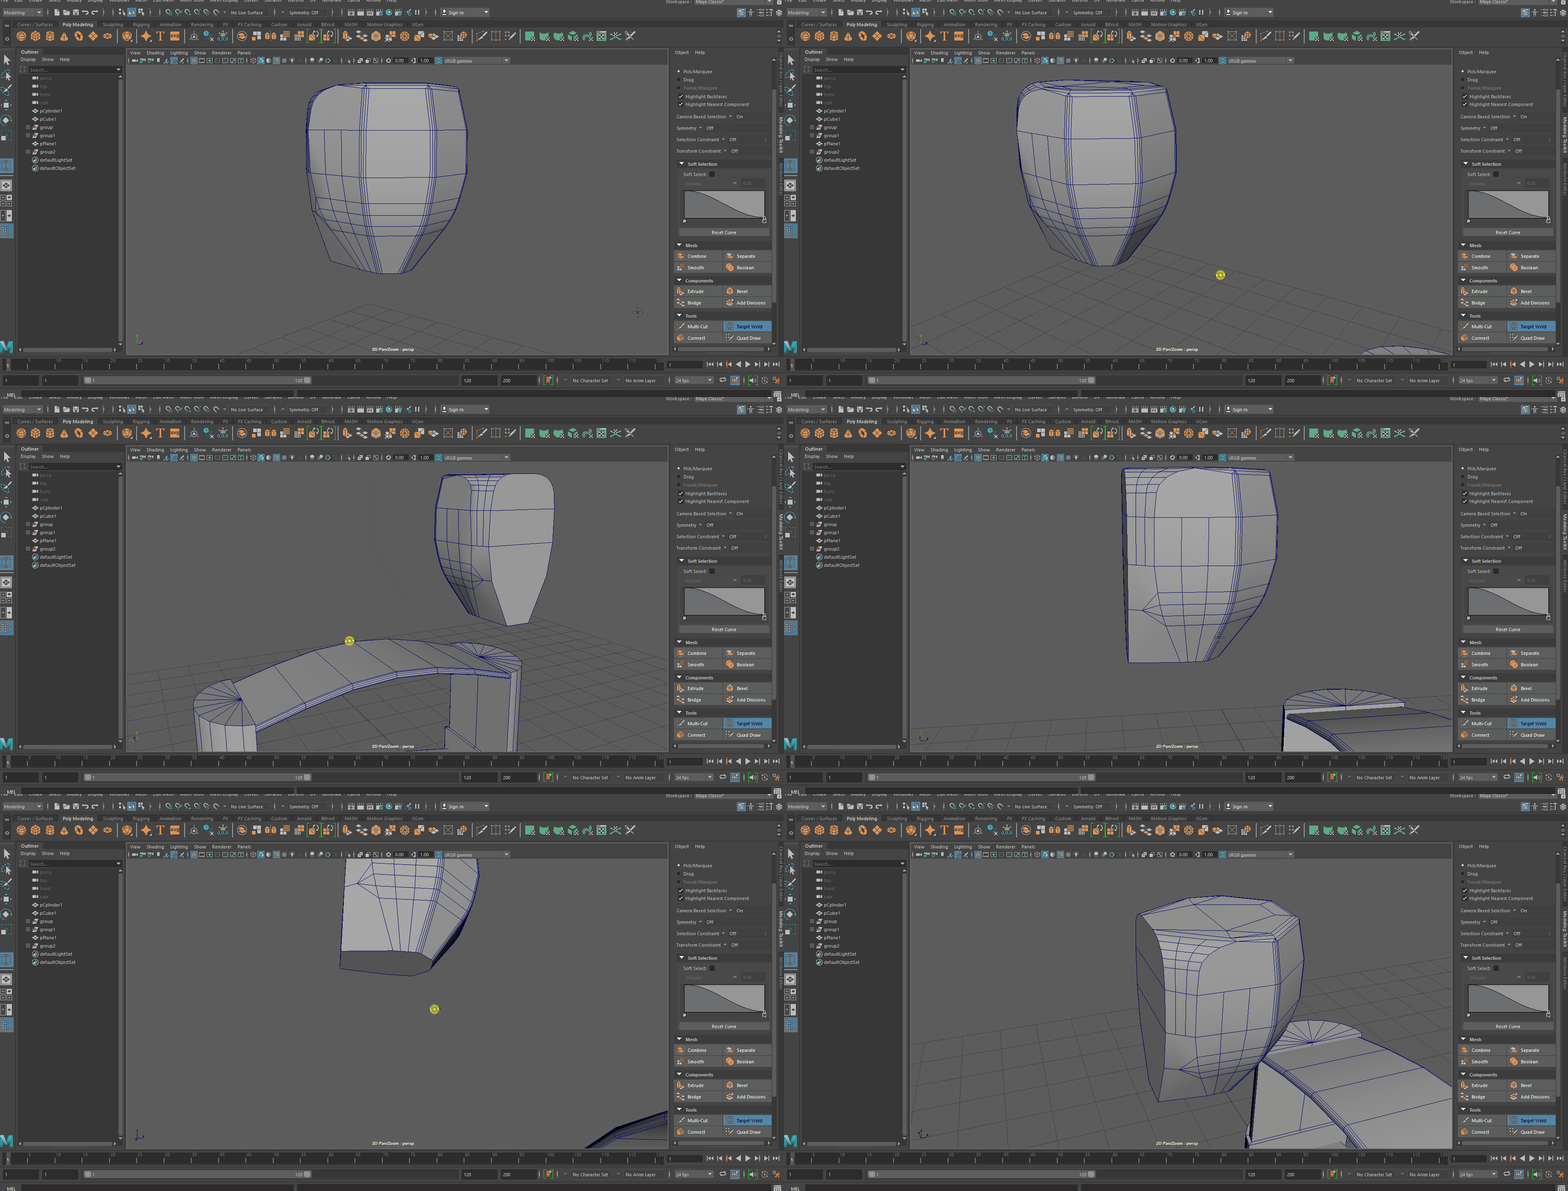
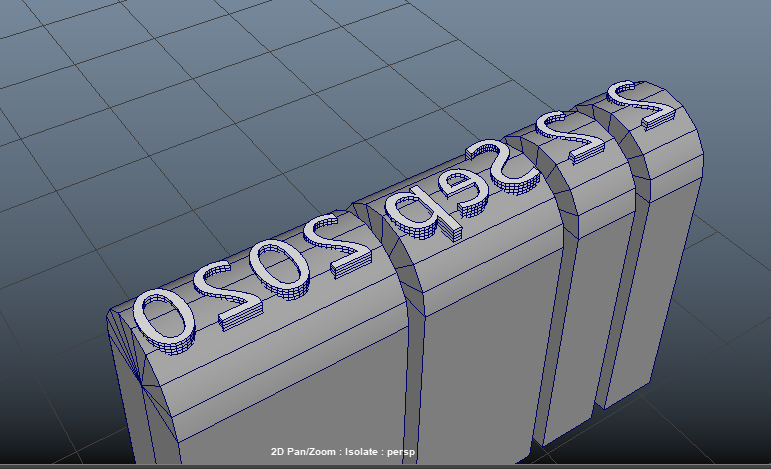
When in Maya i first started with cylinder and then halfed it and then inset the top faces and then extruded that upwards to give me the main frame of the stamp. For the ink holder scale a cube down on the Y axis and then scaled it along the X and then added some edge loops and selected the middle loop and used soft select to pull it up to achieve that natural curve that it has, i then did the same for the part that the handle is attached to except i made it thinner. The handle was one of the harder parts of this model due to it weird shape, my approach going into this was using was bevelling a plane on its corners to get a rough match in shape, i then extruded it upwards and then added edge loops and scaled the to give it the curvy shape that the handle has. using the back edge loops to straighten the back out like the model has. I then bevelled the top corners to get the curve that start after the flat back. An issue that i encountered was that the mesh was looking too low poly and had weird shading issues so i bevelled and added more segments around the front and top of the mesh to solved this issue, however when i did this the it made the handles topology messy so i deleted edges at the top and around some of the edges and it made it look much neater interms of polygon count and edge flow. For the inner stamp part i took a cylinder and halfed bridged it then extruded that new face to create the part where the controls sit, for the controls themselves i played around with using a gear primitives in maya but i wasn't happy with it so as an alterative i uses a disc and selected every other edge and then scaled it outward and then bevelled to give the curvy and bump geometry that the controls have. I inset the top inner face and extruded downward so that i would have a place for the data holders, which i created using half of a cylinder which i extruded and then put in the new hole. I then used the text tool to make a date which matched the stamp format and put the 3D text on the date holders which i made.


3 views0 comments

Recent Posts

See All

ความคิดเห็น


bottom of page