Maya introduction.
- Zack Scanlon
- Sep 8, 2020
- 5 min read
Updated: Sep 10, 2020

the introduction began with learning the menu for Maya such as the top buttons like the symmetry button which helps when modelling things like a car as you only have to do one side which will save lots of time, i was also introduced to the Arnold render engine and the parts that come with that such as the render viewer, the IPR (interactive photorealistic renderer) and the hyper shade editor which is a node based material creator/editor. Other things in the introduction were the shelves for curves, poly modelling, sculpting, rigging and animation.

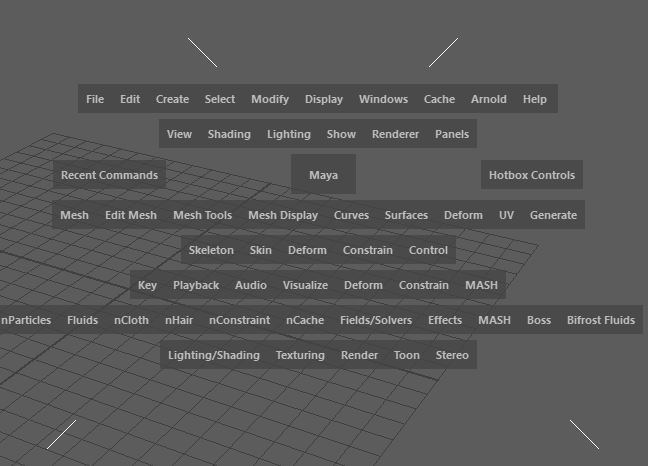
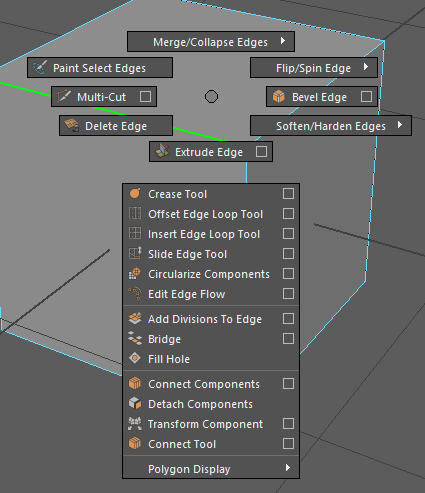
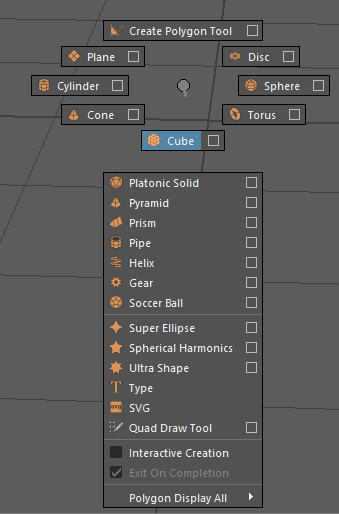
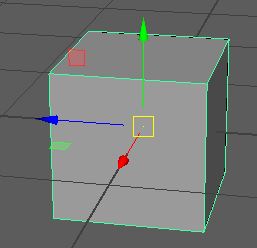
After this initial intro to the lay out of Maya i went to the poly modelling shelf and brought a cube into my 3D viewport after click on it the cube now had blue highlight to that it is a selected object in addition to that when the object was selected a object menu appears on the left side of the screen this is where you can alter your mesh from its width, height and depth and the subdivision of them. on another tab of the object menu is the shader this is where self made materials can be applied or where you can add some pre-made ones from maya. The layer editor is how i can control the visibility of part of a mesh so for example if i was modelling a car i could have the body on one layer and the characters accessories on another and this would allow me to turn off the visibility of the body without doing the same to the characters accessories, layers also allow me to lock the mesh in place to i can lock my characters mesh and work on the accessories without accidentally clicking on my character and moving something. The outliner shows what i have in my scene this gives me control of my objects so i can do things like rename them which makes it easier to find certain objects. Holding down the space bar will make the hotbox pop up and this is a condensed menu for quick access around maya. Next thing i learnt was bringing up the components this a quick access to the components of the mesh so i can do things like select a face, edge, multi which is all of them another thing the components menu allows for is assigning materials this is helpful for when i am modelling because i can quickly change my mesh from a lambert to a blinn which make it more specular which is useful when modelling so i can see how light is interacting with my model. When shift right clicking it opens a contextual menu which is similar to the components however when you shift right click what appears in the menu will depend on what you have selected so if i have a cube selected it will give me options to bevel, delete edges and extrude but if i have nothing selected options for what type of mesh i can put into my viewport like a disc, torus, and pyramid. have a contextual menu helps me as when i bring it up for a certain task what comes up it pertains to whatever i have select so this saves me time as i don't have to navigate through different menus in Maya for what i need this helps me save time.
The Maya viewport was the next thing i was introduced to, first was the axis's this is what helps me orient myself in Maya like using the Y (green) to make sure i'm not upside down. after that the next thing was the 4 different orthographic views that i could used when i just press space bar when i do that i can have a top, bottom and side view this is useful as each view allows me to fine tune a model or animation from a certain perspective which i like as it gives me more control. The way to navigate Mayas view port is with the uses of alt+to orbit, alt+middle mouse to pan and alt+right click to zoom in and out, using f to frame and object is helpful as if i lose the object or my way in the viewport i can fix it with the click of a button. The tools to move and manipulate my mesh is what came next as learning the shortcuts is paramount for efficiency and saving time when working so using W to switch to translation, E to switch to rotate and R to scale quick is helpful when both animating and modelling as i can stay focused on what i am doing.
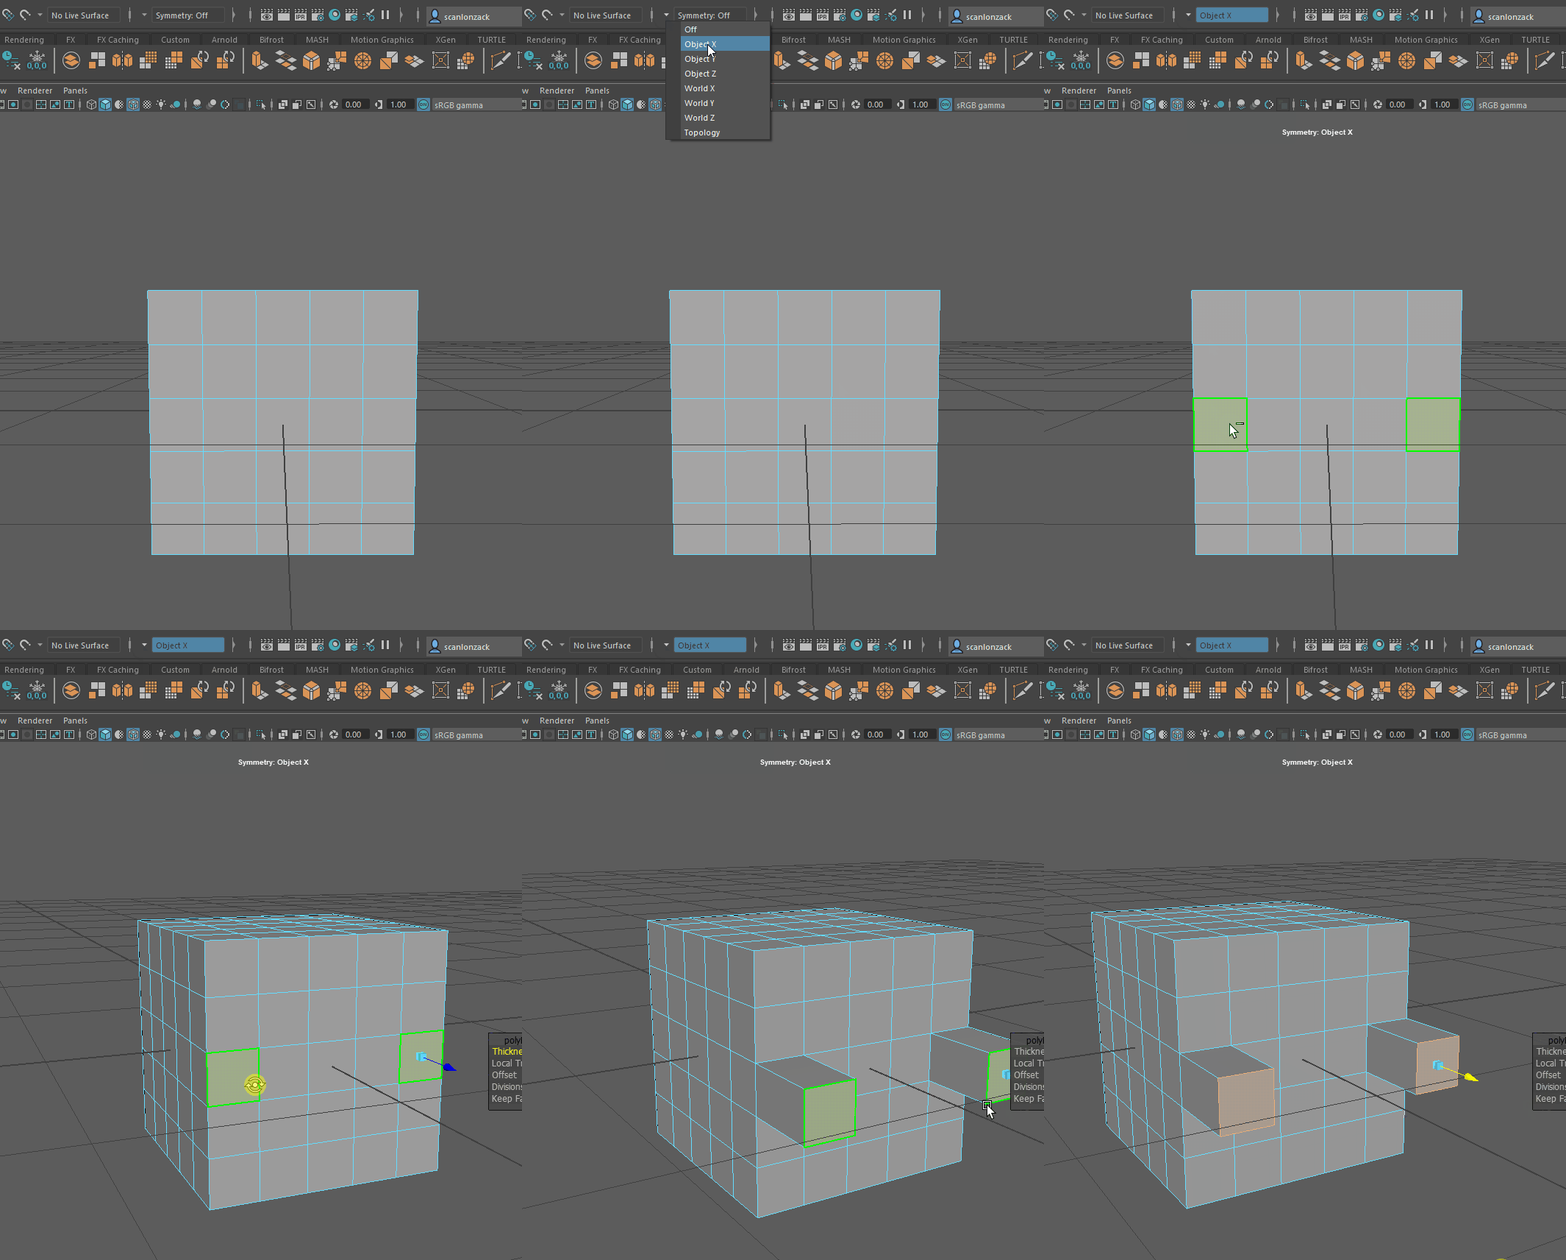
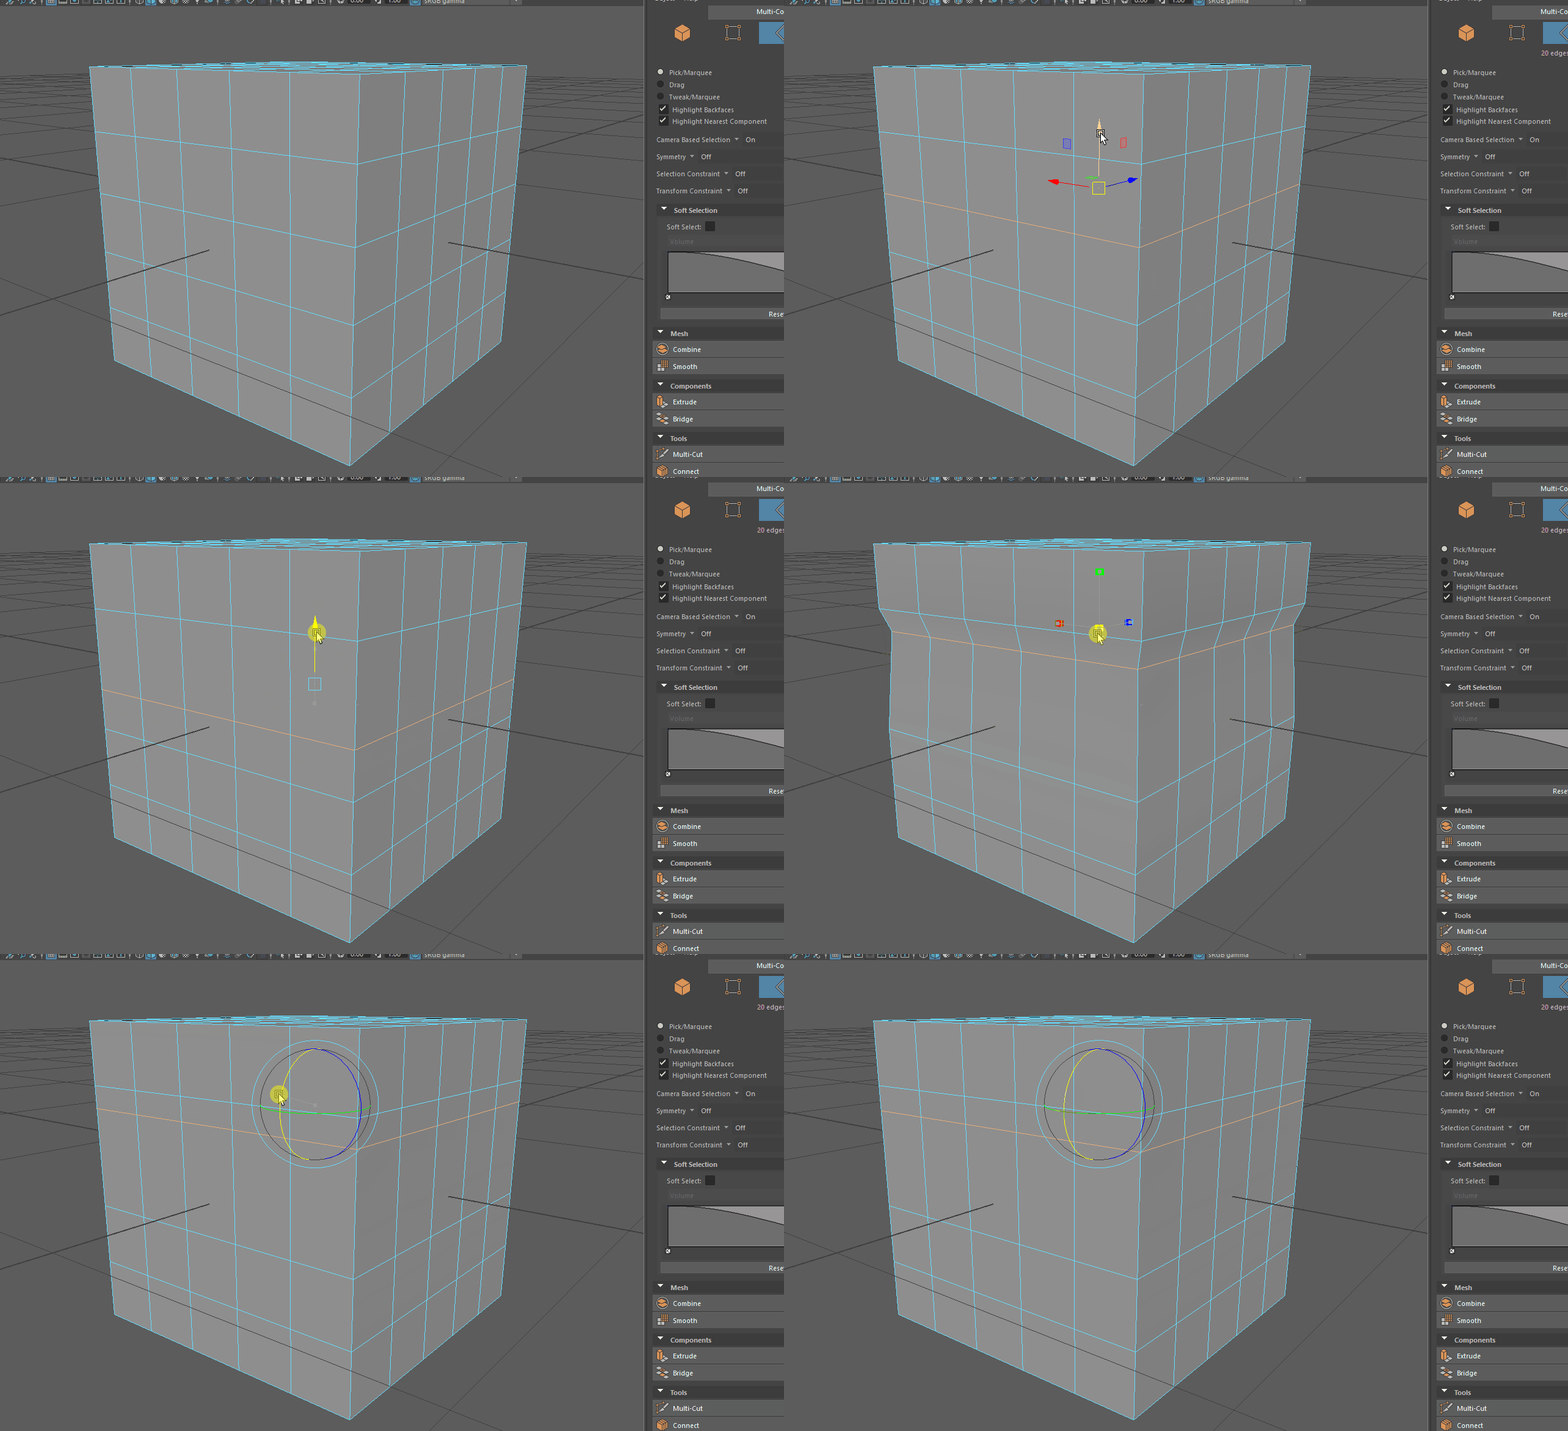
Looking into component mode was the next thing first i started by learning how to have more control when creating a primitive like the width, height, depth and subdivisions of them. After creating a cube with 5 subdivision's on X,Y and Z my mesh now had faces that i could now select using the contextual menu so learning how to loop select with shift and double click around an object and after that is done and if want to expand my loop all i have to do is press shift+<or> in order to expand or retract my loop, this is very useful as it saves me having to monotonously select each and every face, vertex and edge when modelling another feature i looked into more is the symmetry feature that allows me to mirror what i do on a desired axis and like extruding faces on the X like in my example which means i only have to do half the work when modelling symmetrical assets. Soft selection is what came next in my Maya introduction and its very powerful and helpful as for one i can proportionally edit my mesh from a single or group of vertexes, edges and faces which i can also control the fall off of my selection giving me that finer control when i'm turning something like a cylinder into a basic pencil or rocket shape to block out my asset.
Reshaping geometry using things translate, rotate, scale allows me to create more interesting faces on my model which can be helpful after i am done with the base shape of my model and i am going through and adding all the extra small details that bring my model to life and if i am using it to composite it being detailed and paramount for making a good looking and successful visual effect. Edge sliding is like reshaping geometry however when i move the edge it doesn't deform the geometry to a point where it makes the mesh looks weird and unnatural so it allows my to move edge on my mesh without this is useful as i can make edge adjustments with no issue about it deforming weirdly on complex shapes like a sphere or torus.
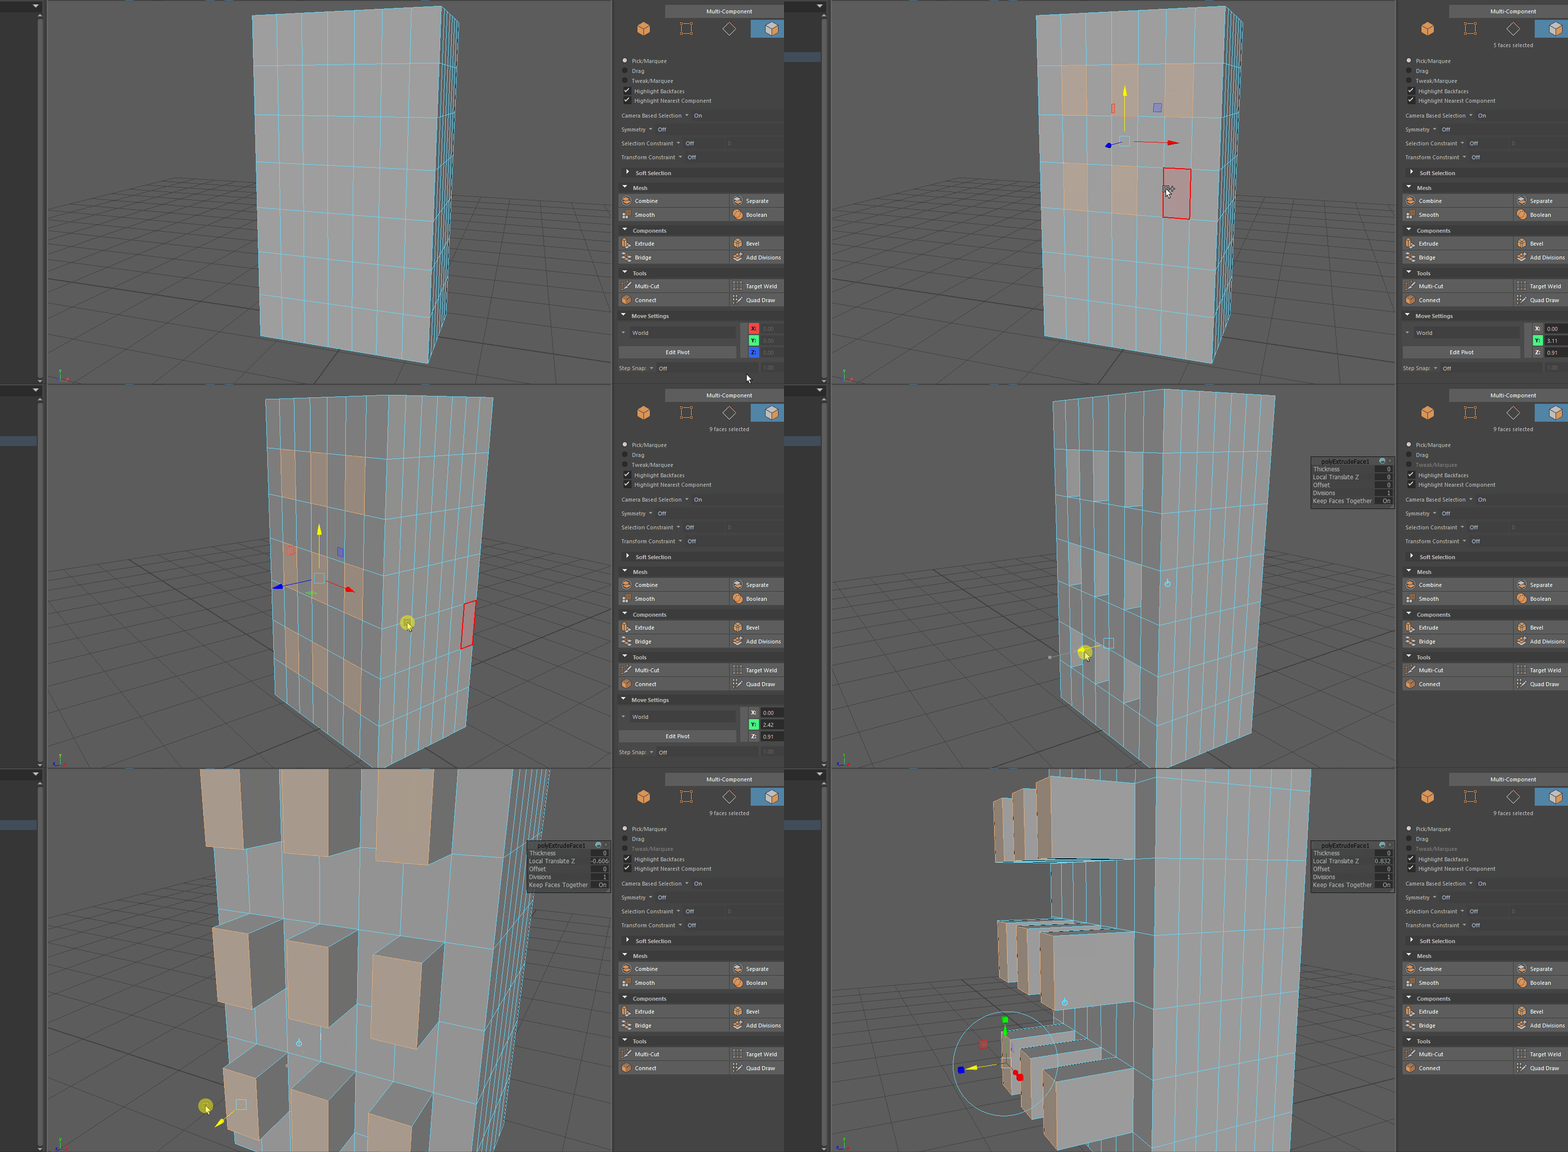
Extruding is a very helpful technique as it allows you to take a cube, plane or any primitive and extend it from and edge or a face. for example if you were doing a garden scene you could pick the edges of the boarder to extrude them upwards to make a fence that can be adjusted and textured with ease. Face extruding can be helpful when modelling something like a building as you can select the faces you want to be a window and use the face extrude push the faces inward to create widows or other complex objects. enabling or turning off keep faces together significantly changes how you are able to move extruded faces as if you have it on when you move a face an attach faces will also change according to the movement but if you turn it off it give much more freedom that allows for you to move, rotate and scale faces of an object with altering the rest which can come in handy when moodelling.















Comments