Digital makeup
- Zack Scanlon
- Nov 10, 2020
- 2 min read
Updated: Jan 11, 2021
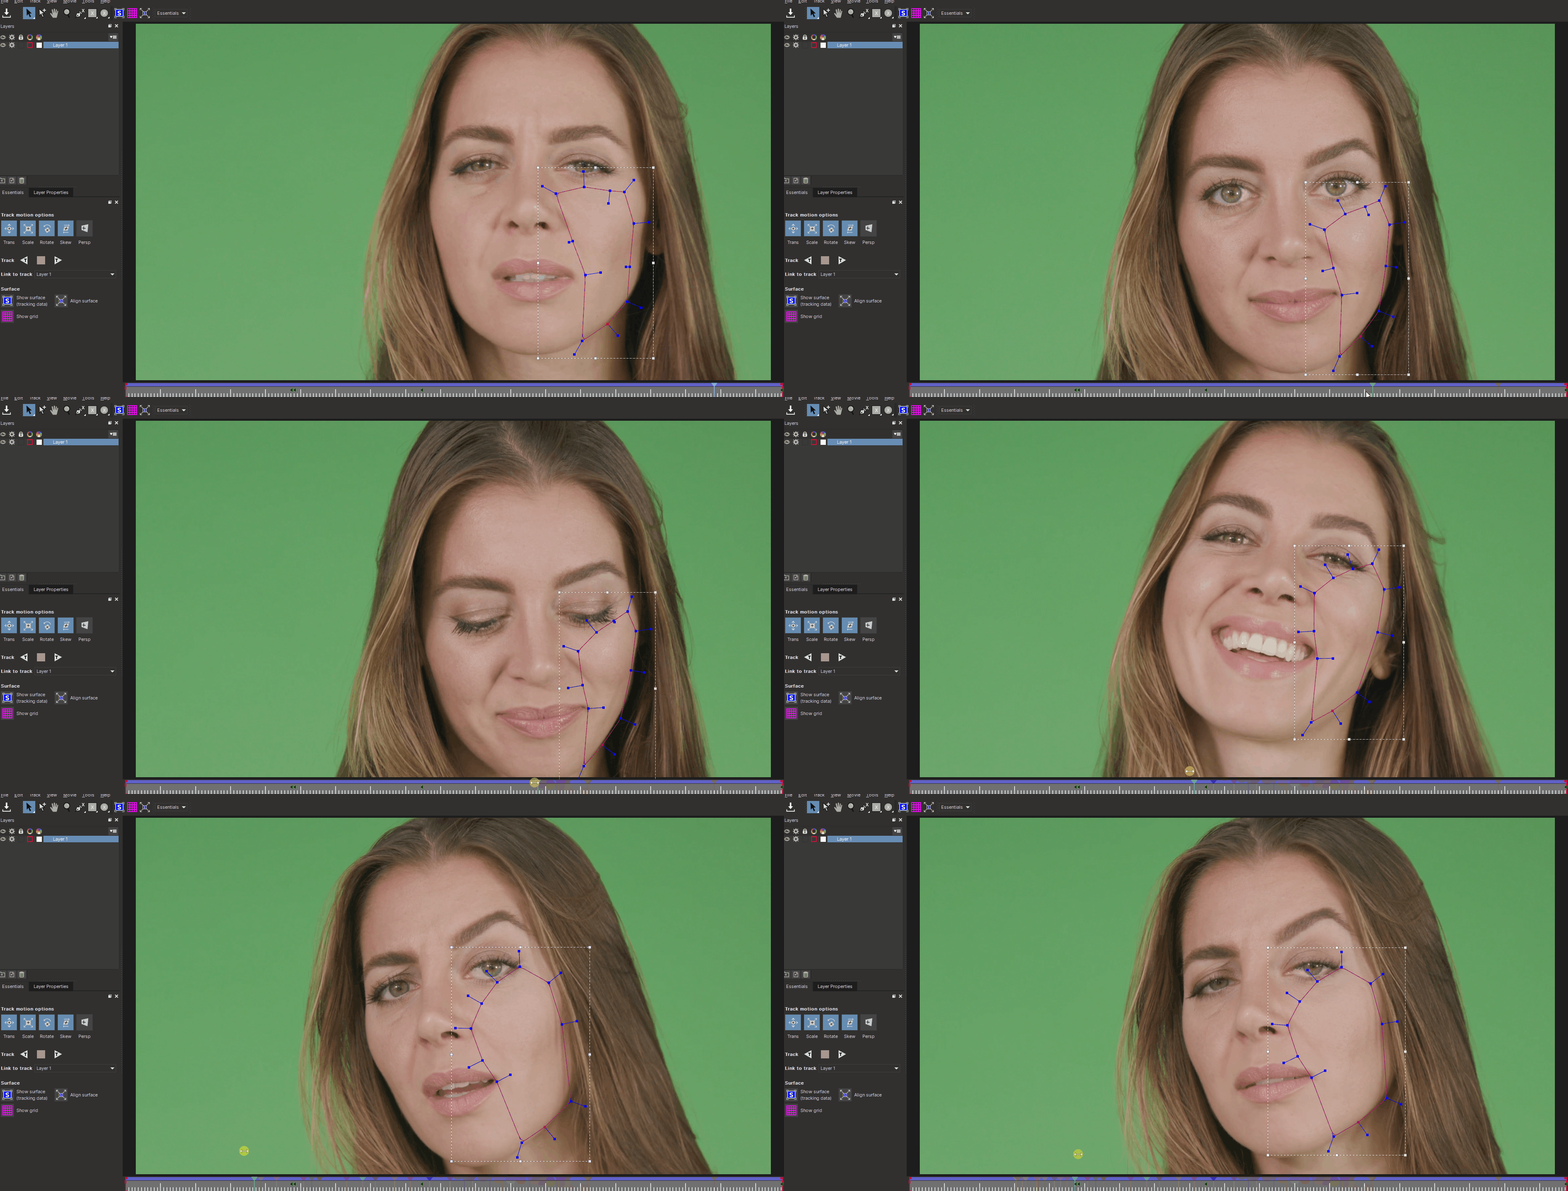
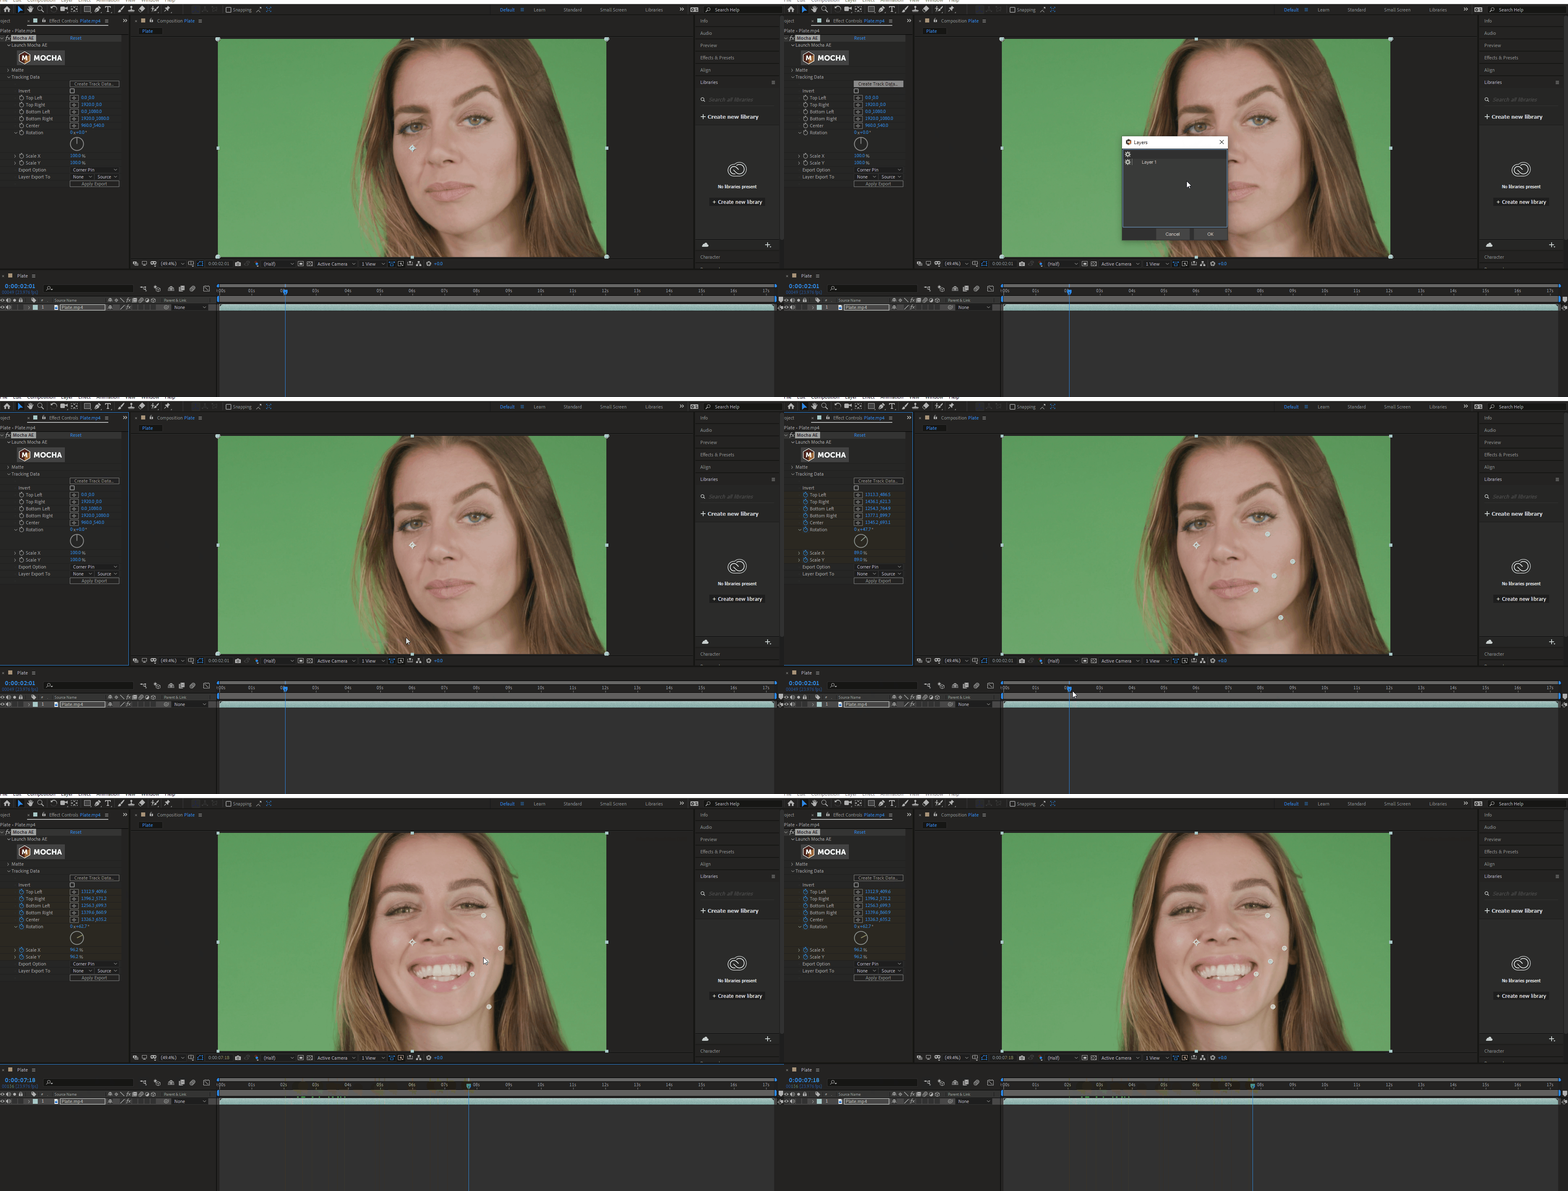
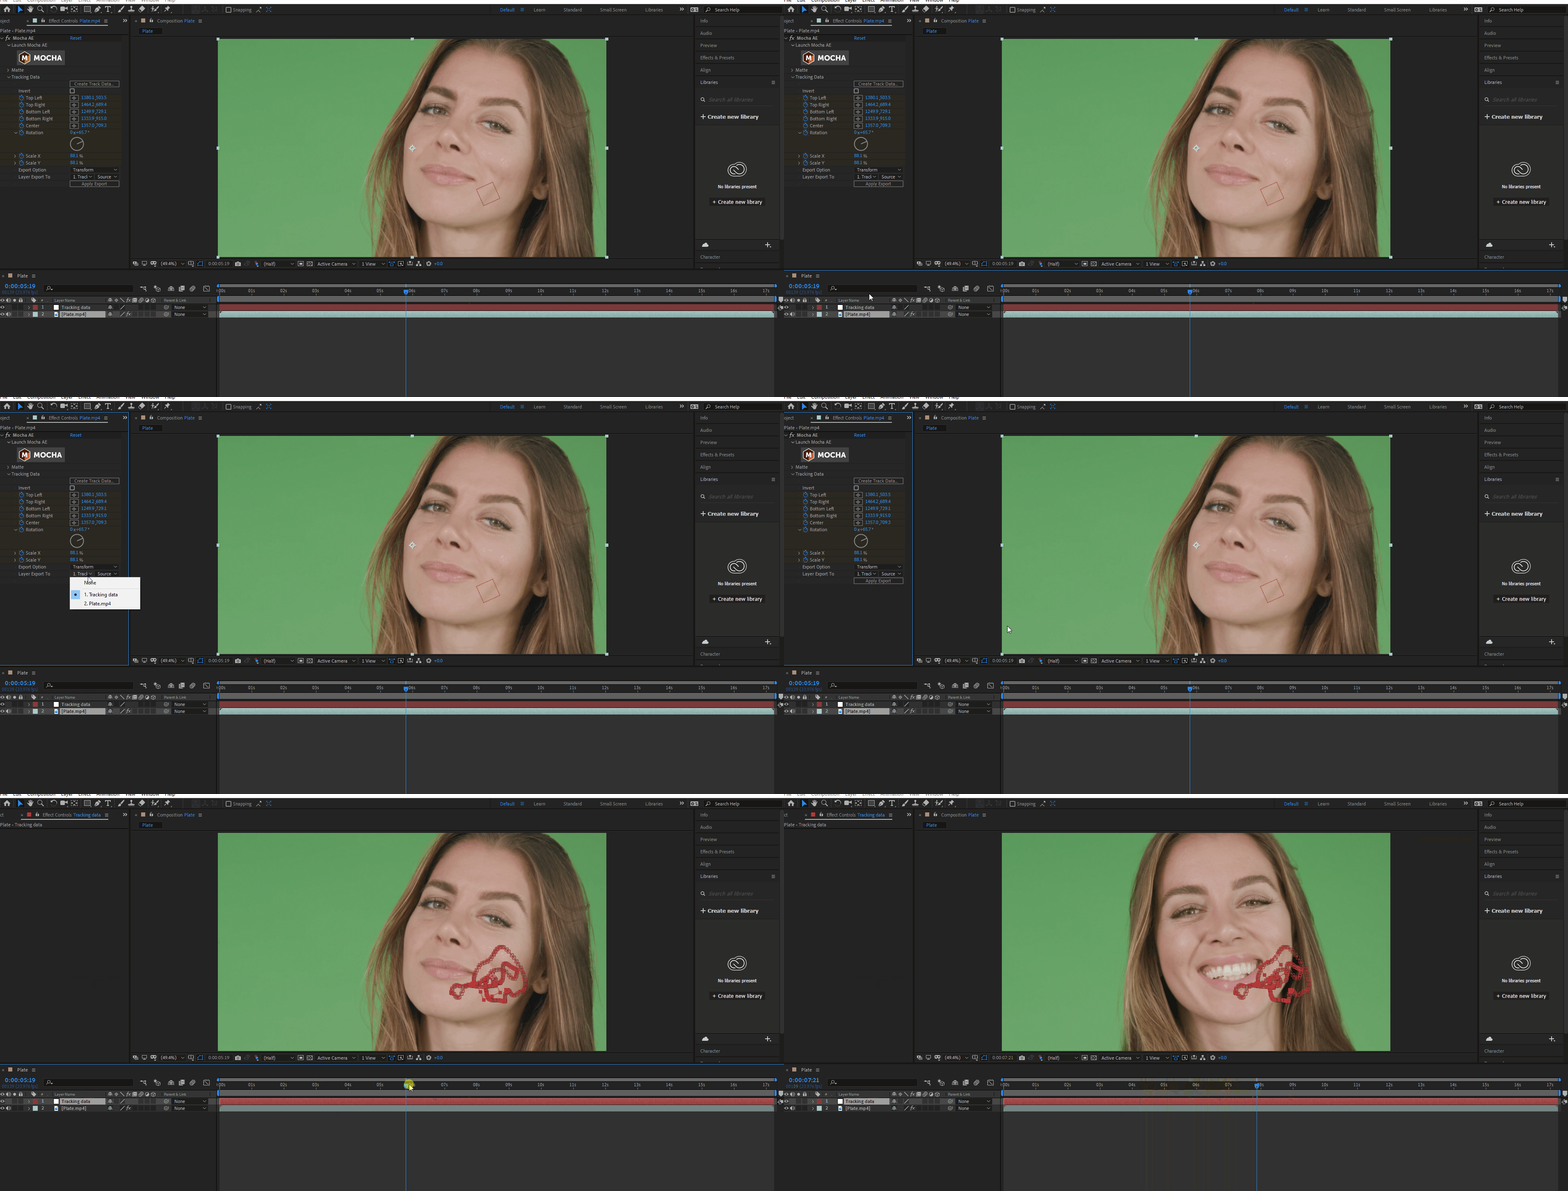
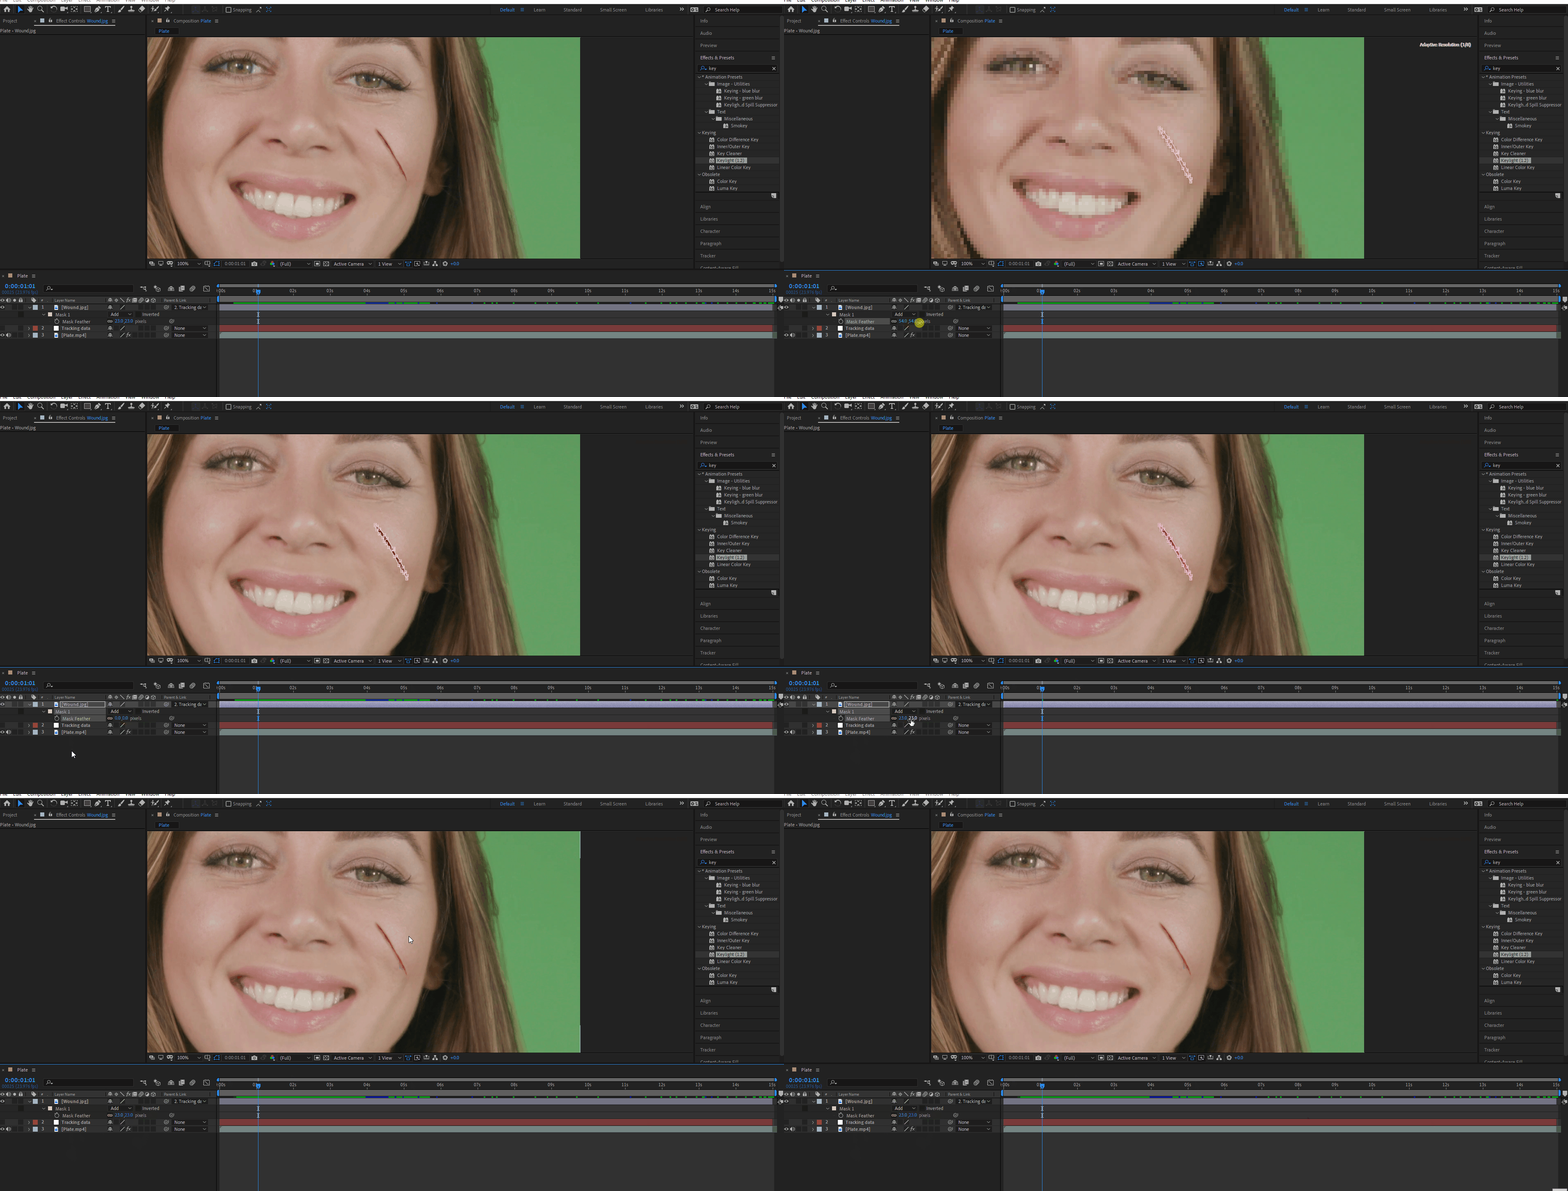
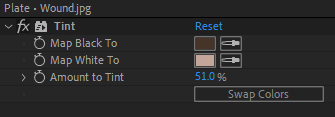
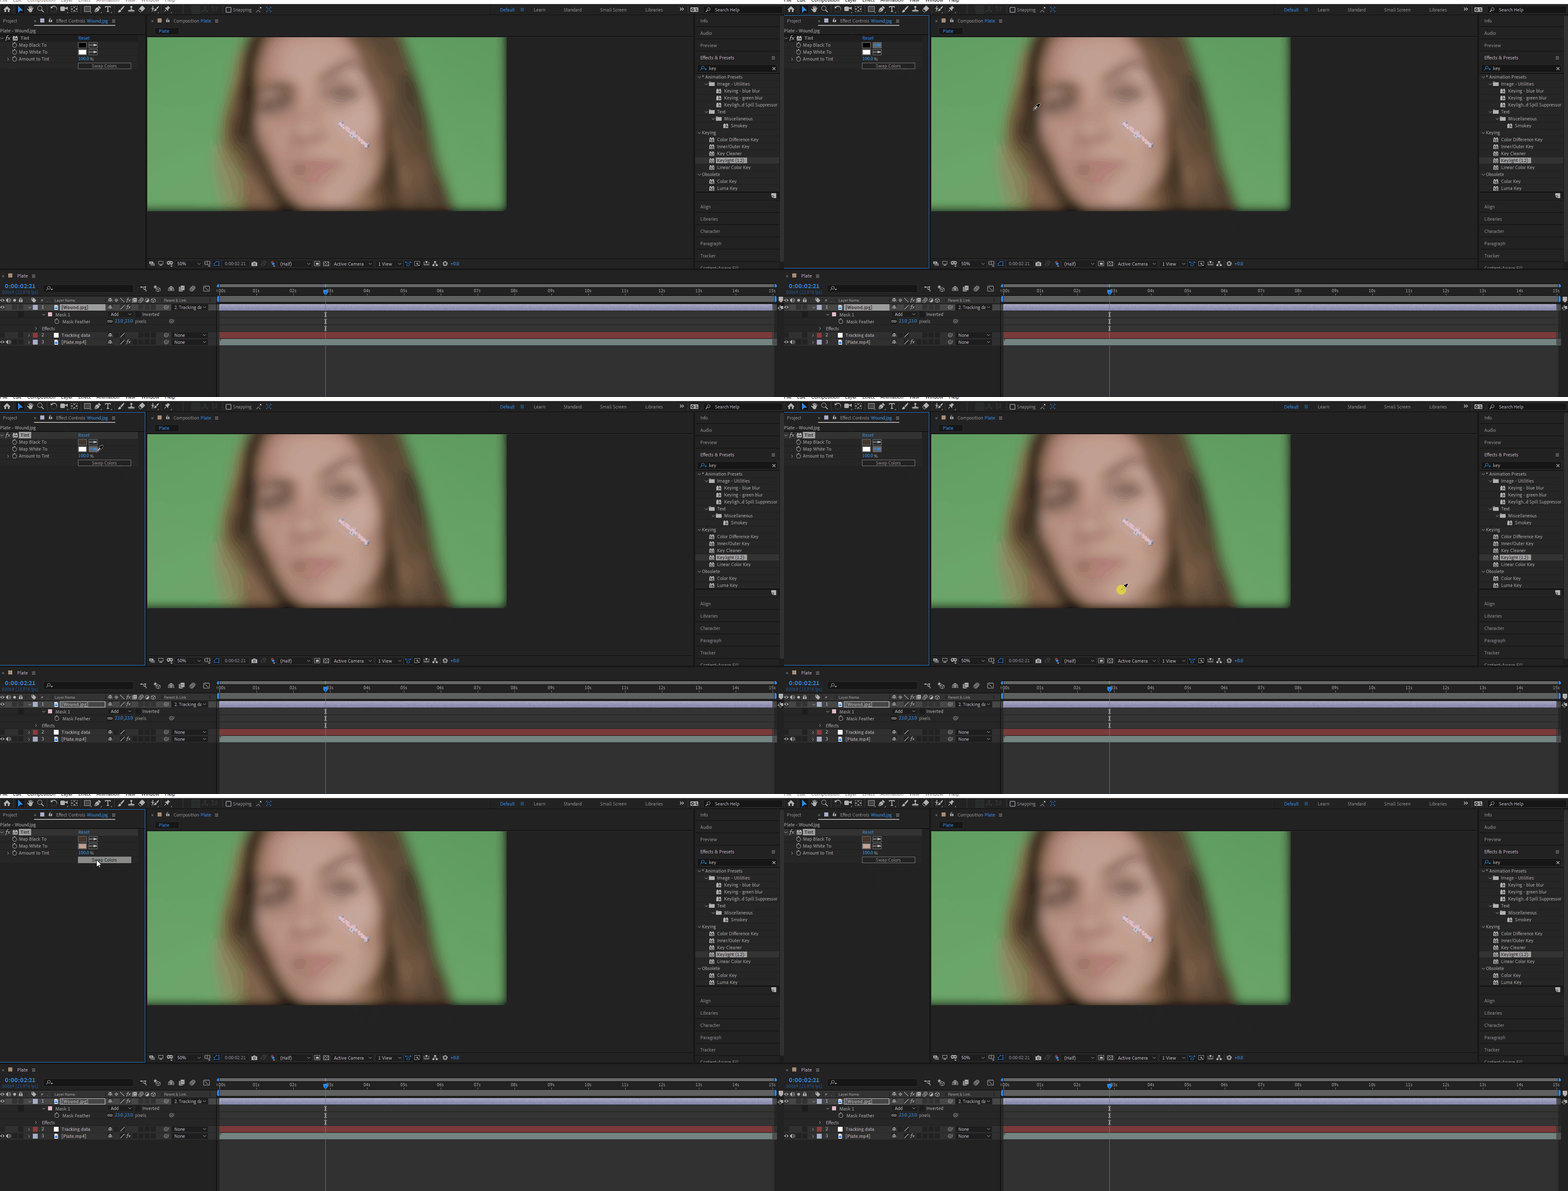
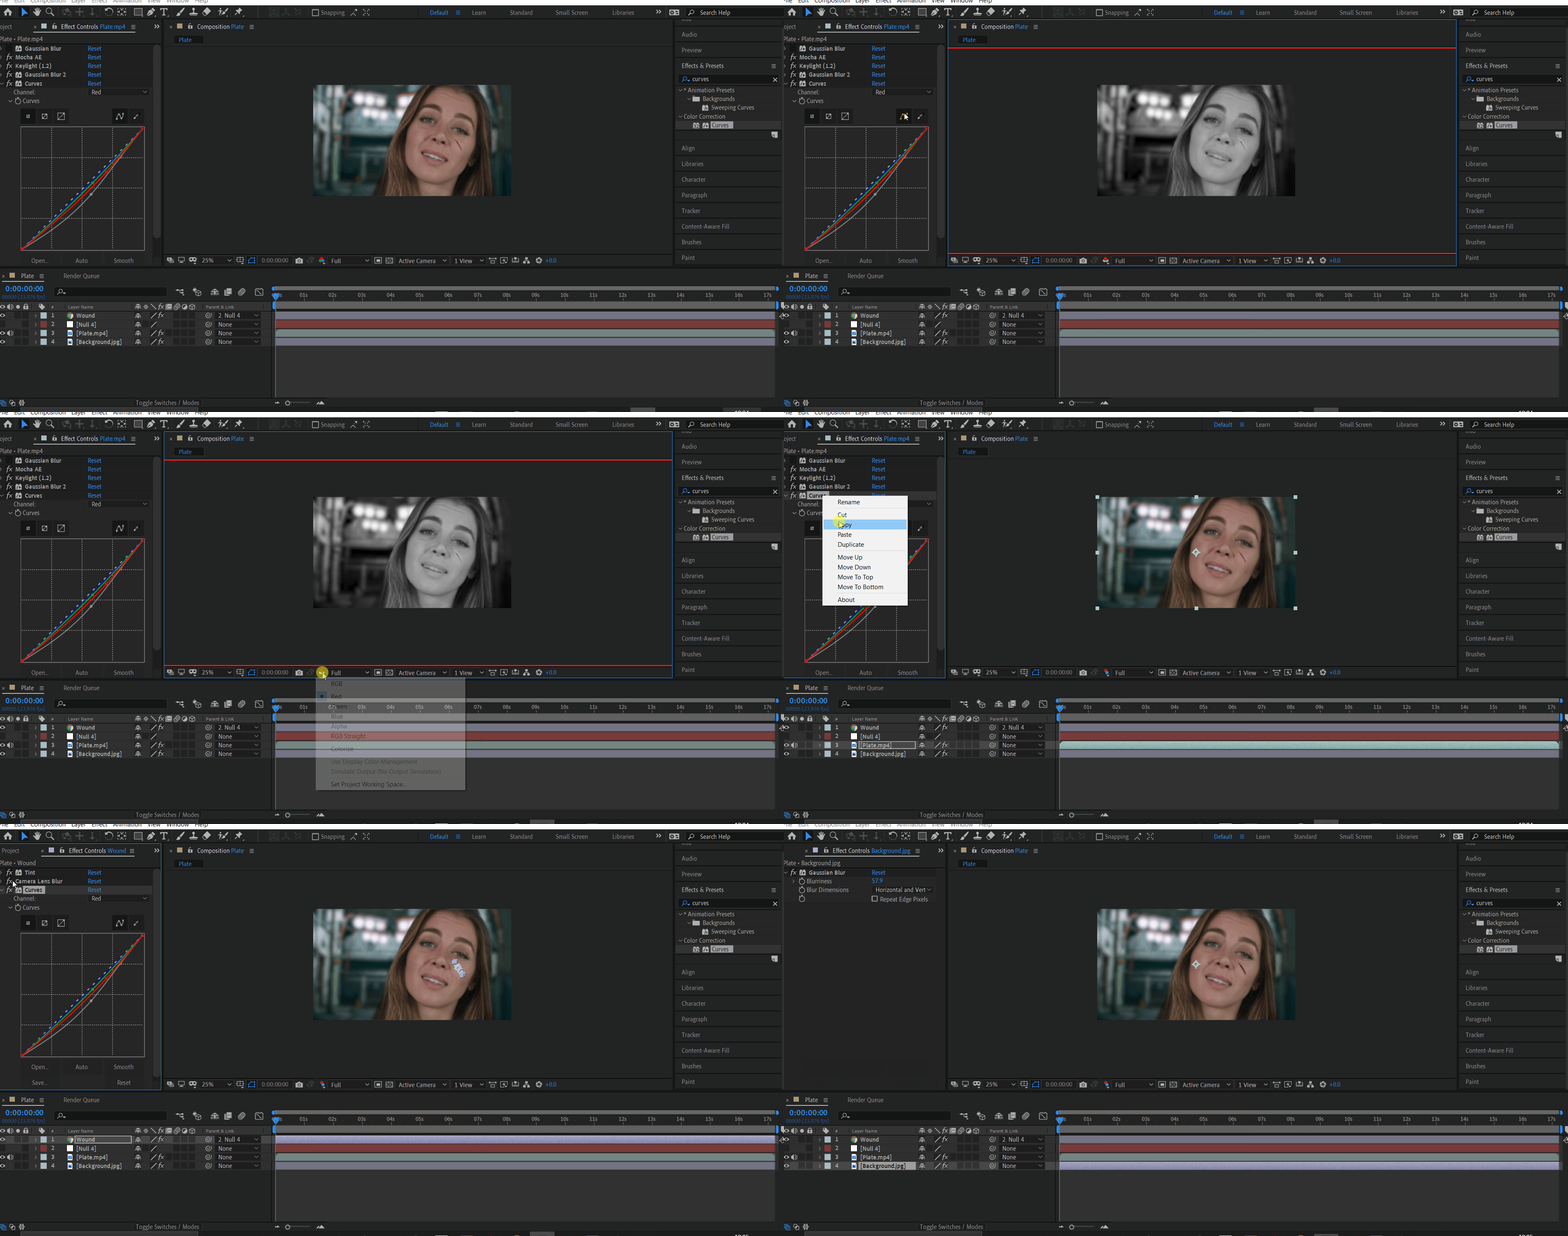
To start this shot i set up my folder structure and got a video of an actress as my plate i put everything in the corresponding folders in my structure and went into after affects and created a new comp using my footage, for there i selected my footage and applied the mocha plugin which comes with after effects. When in mocha i used the pen tool drew a mask around the area of were i would like to track on my actresses face and then tracked it forward and backward. Once i had a goof track with no slipping i went back into after and applied my mocha tracking data to a null and where i the parented my image of a prosthetic wound to the null and then to begin the intergartion i created a mask around the wound and feathered it a bit so that the edge's were not as sharp. I then put a tint effect on it and taking the brightest and darkest colours from my plate that had a blur on it so i could get those values to make the colours match. The footage that i got off of pexels had a green screen to so i decided to add a background first i keyed out the green and adjusted some settings to clean it up around the edges, then i put my background in and then blurred it to my green screen element the thing that is in focus. To blend my background and element i added a curves effect on to my element and then went in the red, green and blue channels individually and matched the channels using the RGB viewer. Then when that was done i added some grain over the whole comp so that elements don't look like they are all separate elements.




Comments