Baking bad: a low to high workflow
- Zack Scanlon
- Mar 2, 2021
- 2 min read
Updated: Mar 30, 2021
For the first part of this project i took photos of my object to use as reference. I then took the images into photoshop and added some ruler lines so that i could rotate my image to align it. Once both were correctly aligned i masked them and deleted the background then exported as a PNG so that i would get the image alpha.
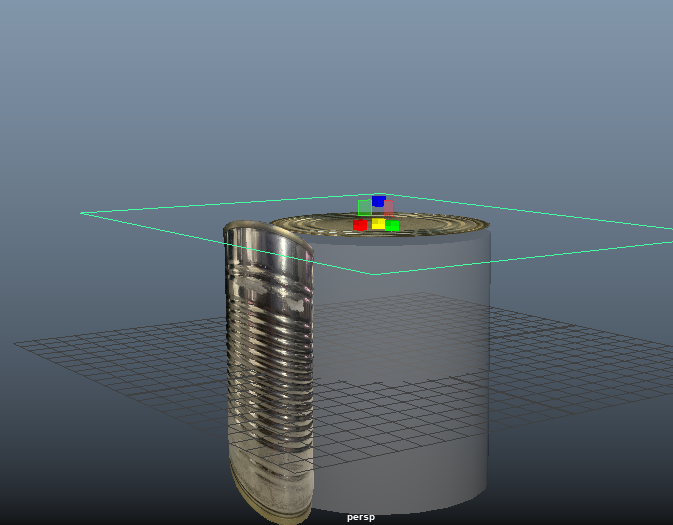
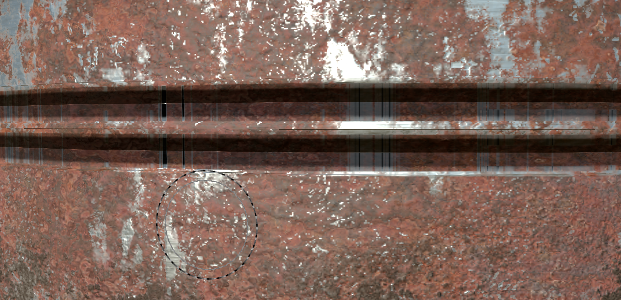
In Maya i brought in my image planes and added a cylinder with the exact measurements of the can that i was using and then lined them all up so i would have the correct scale. After i had the correct scale i added in some basic details to keep the can as low poly as possible. I then save this project file and duplicate it and renamed it "Can High" as this is going to be the version i put on the high poly detail in. For the high poly one i added edge loops and changed the offset so that i could then extrude inwards and then bevel the edge to get the smooth look that a can has on the rings around it. I unwrapped the low poly can before taking it into substance, once in substance i baked my high poly onto my low poly, however when i applied materials stretching would occur in the dips on the side of the can. I messed around with different types of projections to resolve this but nothing would fix it so i decided to redo the modelling from scratch incase the issue was a result of something that i done i even unwrapped the high in case. But when i got back into substance the issue still occurred. I hand painted the textures to avoid the areas that stretching but when i applied dust and masks it would still stretch. So as a solution in Maya when i applied textures i just took the UV shells that had distortion and then moved them to an area with a non distorted texture.


Comments